Die Windows 7 Standardsoftware ist etwas aufwändiger vorzubereiten als bei Windows 10. Ich möchte das aktuelle .NET Framework, die aktuelle Version der PowerShell, den Internet Explorer 11 und die Remoteserver-Verwaltungstools ins Image integrieren. Allein der Internet Explorer 11 braucht 9 Updates. Sinnvoll ist auch das Enterprise Hotfix Rollup, welches fast 90 Updates aus den Bereichen Netzwerk und Gruppenrichtlinien enthält. Eine vollständige Liste gibt es hier http://support.microsoft.com/kb/2775511/de.
Ordner für Software und Packages erstellen
- Als Administrator an MDT1 anmelden
- Folgende Ordner erstellen:
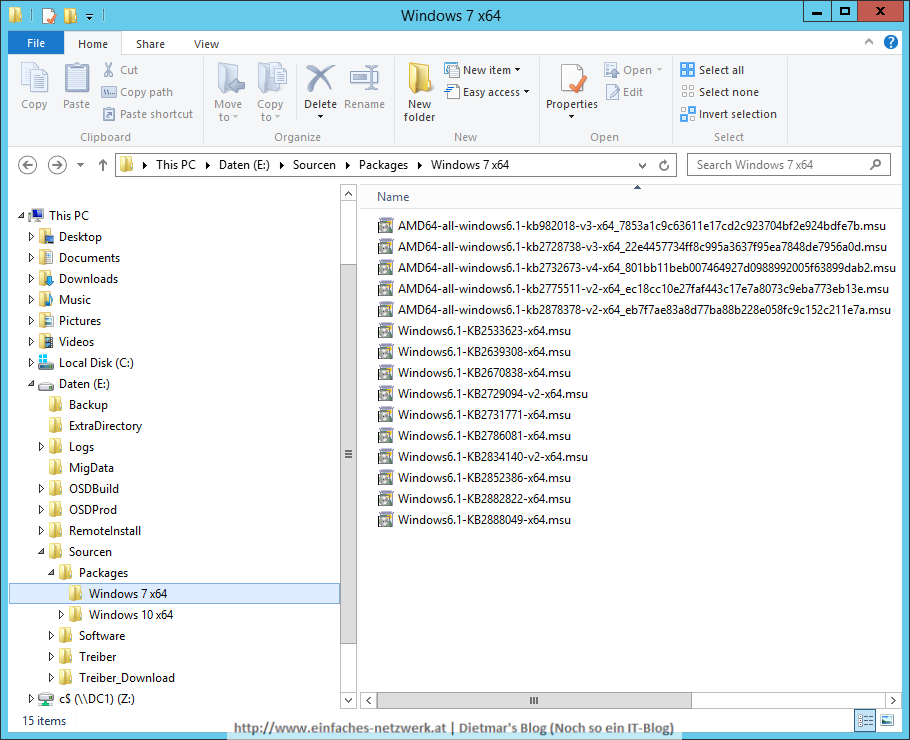
- E:\Sourcen\Packages\Windows 7 x64
- E:\Sourcen\Software\Microsoft .NET Framework 4.6.1 x86 x64
- E:\Sourcen\Software\Microsoft Internet Explorer 11 x64
- E:\Sourcen\Software\Microsoft Management Framework 4.0 x86 x64
- E:\Sourcen\Software\Microsoft Remoteserver-Verwaltungstools 6.1 SP1 x86 x64
Software und Updates herunterladen
- Folgende Software herunterladen und in den entsprechenden Ordner kopieren:
- Microsoft .NET Framework 4.6.1 (Offlineinstaller)
https://www.microsoft.com/en-us/download/details.aspx?id=49982 - Microsoft .NET Framework 4.6.1 Sprachpaket
https://www.microsoft.com/de-DE/download/details.aspx?id=49977 - Windows Management Framework 4.0
http://www.microsoft.com/de-at/download/details.aspx?id=40855 - Remoteserver-Verwaltungstools für Windows 7 mit Service Pack 1
http://www.microsoft.com/de-at/download/details.aspx?id=7887 - Internet Explorer Administration Kit 11 (IEAK 11)
http://www.microsoft.com/en-us/download/details.aspx?id=40903 - Windows Update-Client für Windows 7: Dezember 2015
https://www.microsoft.com/de-DE/download/details.aspx?id=50023
Hinweis: Für dieses Update muss am WSUS das Update for Windows Server 2012 R2 (KB2938066) installiert sein!
- Microsoft .NET Framework 4.6.1 (Offlineinstaller)
- Folgende Updates herunterladen und nach E:\Sourcen\Packages\Windows 7 x64 kopieren:
- Enterprise Hotfix Rollup for Windows 7 SP1 (KB2775511)
Ein Enterprise Updaterollup steht für Windows 7 SP1 und Windows Server 2008 R2 SP1
http://catalog.update.microsoft.com/v7/site/Search.aspx?q=2775511
http://Catalog.Update.Microsoft.com/V7/Site/Search.aspx?q=2732673
http://Catalog.Update.Microsoft.com/V7/Site/Search.aspx?q=2728738
http://Catalog.Update.Microsoft.com/V7/Site/Search.aspx?q=2878378 - Update für Windows 7 für x64-Systeme (KB982018)
Ein Update ist verfügbar, dass die Kompatibilität von Windows 7 und Windows Server 2008 R2 mit Advanced Format-Festplatten verbessert
http://www.microsoft.com/de-at/download/details.aspx?id=12248 - Disk-Cleanup-Wizard Addon für Windows 7 SP1 basierte Systeme (KB2852386)
http://www.microsoft.com/de-DE/download/details.aspx?id=40359
- Enterprise Hotfix Rollup for Windows 7 SP1 (KB2775511)
- Folgende Updates für Internet Explorer 11 herunterladen und nach E:\Sourcen\Packages\Windows 7 x64 kopieren:
- Update für Windows 7 für x64-Systeme (KB2729094)
http://www.microsoft.com/de-de/download/details.aspx?id=30566 - Update für Windows 7 für x64-Systeme (KB2731771)
http://www.microsoft.com/de-DE/download/details.aspx?id=34856 - Update für Windows 7 für x64-Systeme (KB2533623)
http://www.microsoft.com/de-de/download/details.aspx?id=26764 - Plattformupdate für Windows 7
http://www.microsoft.com/de-de/download/details.aspx?id=36805 - Update für Windows 7 für x64-Systeme (KB2786081)
http://www.microsoft.com/de-DE/download/details.aspx?id=36334 - Update für Windows 7 für x64-Systeme (KB2834140)
http://www.microsoft.com/de-de/download/details.aspx?id=39208 - Update für Windows 7 für x64-Systeme (KB2639308)
http://www.microsoft.com/de-DE/download/details.aspx?id=28902 - Update für Windows 7 für x64-basierte Systeme (KB2888049)
http://www.microsoft.com/de-DE/download/details.aspx?id=40611 - Update für Windows 7 für x64-basierte Systeme (KB2882822)
http://www.microsoft.com/de-DE/download/details.aspx?id=40500
- Update für Windows 7 für x64-Systeme (KB2729094)
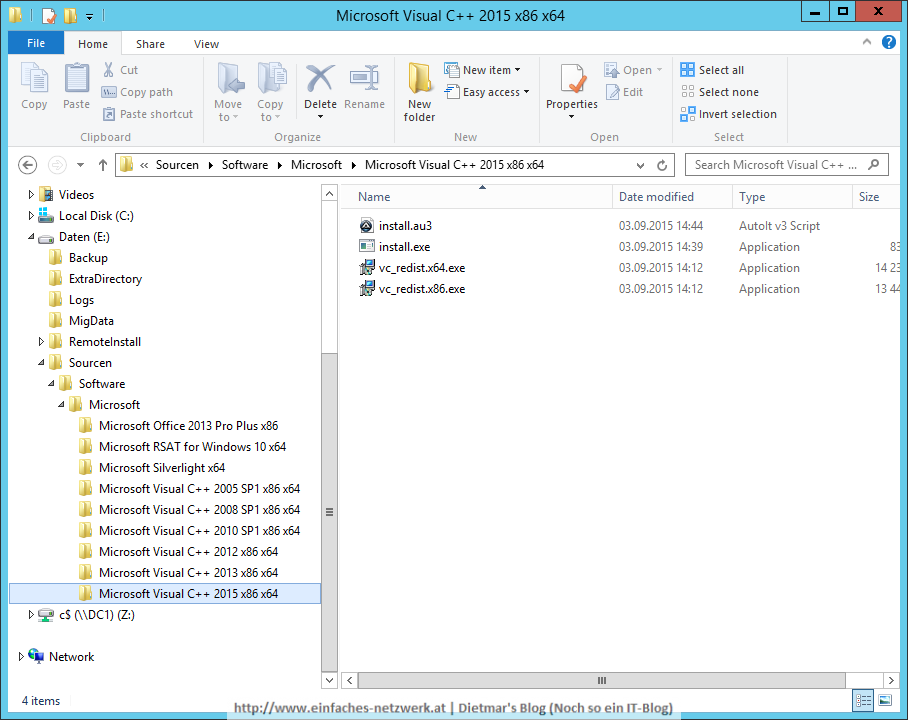
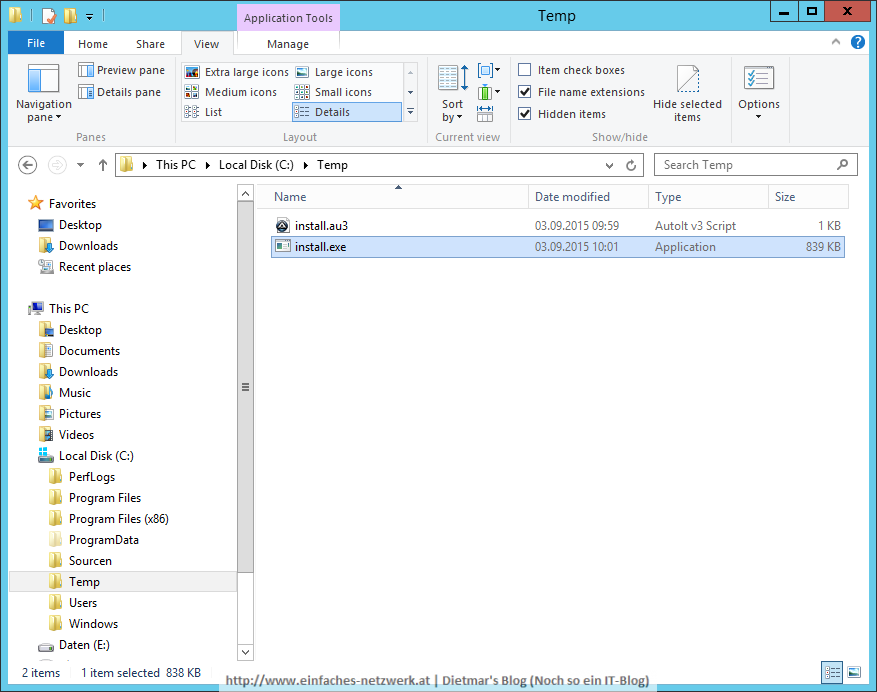
- Die Dateien im Explorer
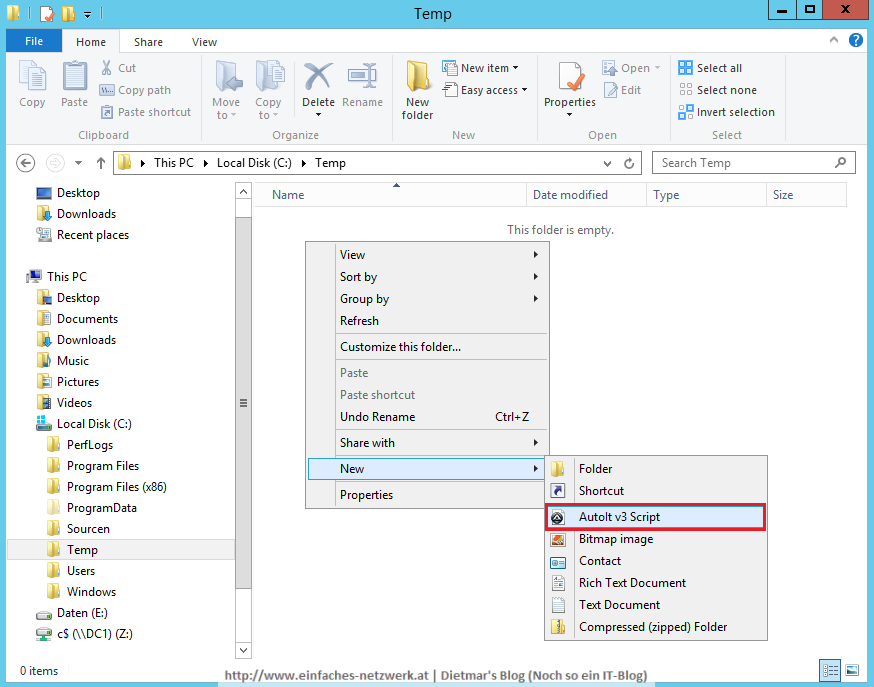
Die AutoIt-Scripte erstellen
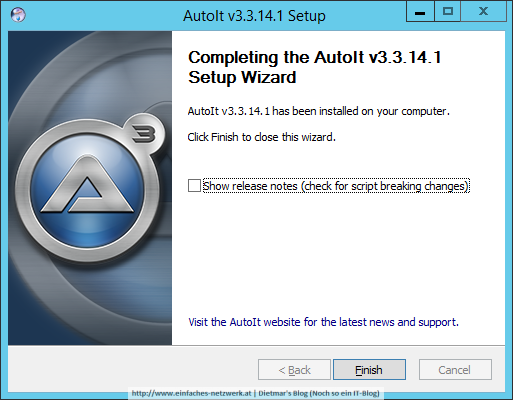
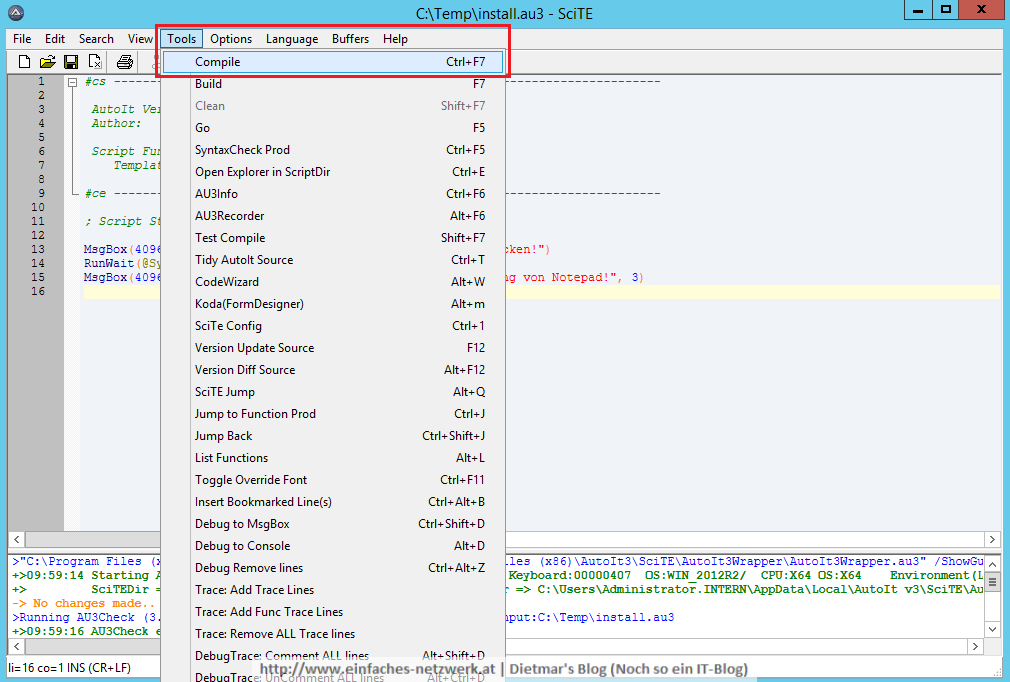
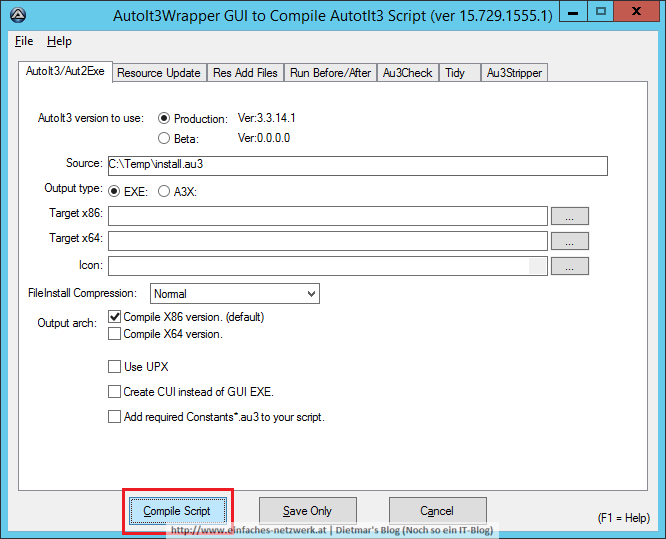
Das Erstellen und Kompilieren der AutoIt-Scripte habe ich ausführlich im Teil Exkurs – AutoIt installieren und ein Programm erstellen beschrieben.
- Folgende AutoIt-Scripte im entsprechenden Ordner erstellen, speichern und kompilieren:
- Microsoft .NET Framework 4.6.1
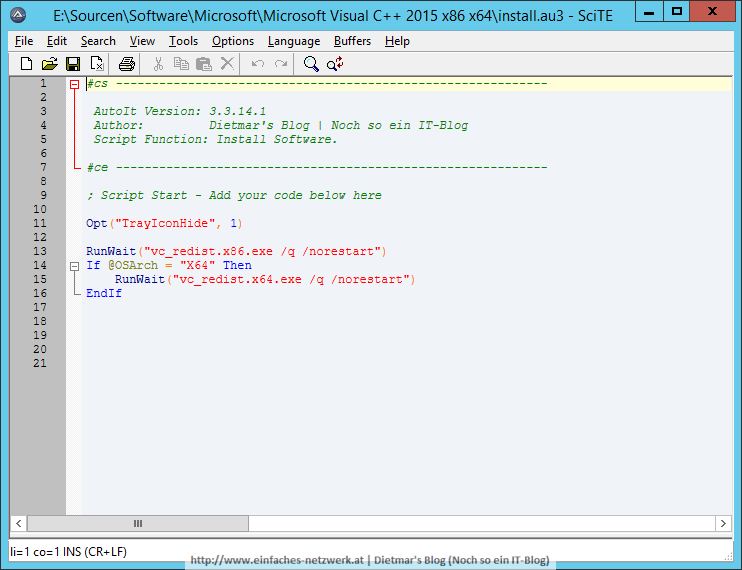
#cs ------------------------------------------------------------ AutoIt Version: 3.3.14.1 Author: Dietmar's Blog | Noch so ein IT-Blog Script Function: Install Software. #ce ------------------------------------------------------------ ; Script Start - Add your code below here Opt("TrayIconHide", 1) RunWait("NDP461-KB3102436-x86-x64-AllOS-ENU.exe /quiet /norestart") RunWait("NDP461-KB3102436-x86-x64-AllOS-DEU.exe /quiet /norestart") - Windows Management Framework 4.0
#ce ------------------------------------------------------------ AutoIt Version: 3.3.10.2 Author: Dietmar's Blog | Noch so ein IT-Blog Script Function: Install Software. #ce ------------------------------------------------------------ ; Script Start - Add your code below here Opt("TrayIconHide", 1) If @OSArch = "X86" Then RunWait("wusa.exe Windows6.1-KB2819745-x86-MultiPkg.msu /quiet /norestart") Else RunWait("wusa.exe Windows6.1-KB2819745-x64-MultiPkg.msu /quiet /norestart") EndIf - Microsoft Remoteserver-Verwaltungstools für Windows 7 mit Service Pack 1
#ce ------------------------------------------------------------ AutoIt Version: 3.3.10.2 Author: Dietmar's Blog | Noch so ein IT-Blog Script Function: Install Software. #ce ------------------------------------------------------------ ; Script Start - Add your code below here Opt("TrayIconHide", 1) If @OSArch = "X86" Then RunWait("wusa.exe Windows6.1-KB958830-x86-RefreshPkg.msu /quiet /norestart") Else RunWait("wusa.exe Windows6.1-KB958830-x64-RefreshPkg.msu /quiet /norestart") EndIf - Microsof Internet Explorer 11
#ce ------------------------------------------------------------
 AutoIt Version: 3.3.10.2
 Author:         Dietmar's Blog | Noch so ein IT-Blog

 Script Function:
	Install Software.

#ce ------------------------------------------------------------

; Script Start - Add your code below here
Opt("TrayIconHide", 1)

RunWait("FLAT\AMD64_WIN7\DE-DE\IE11-Setup-Full.exe")
- Microsoft .NET Framework 4.6.1