Microsoft MDT Build 6.3.8443.1000 steht ab sofort zur Verfügung

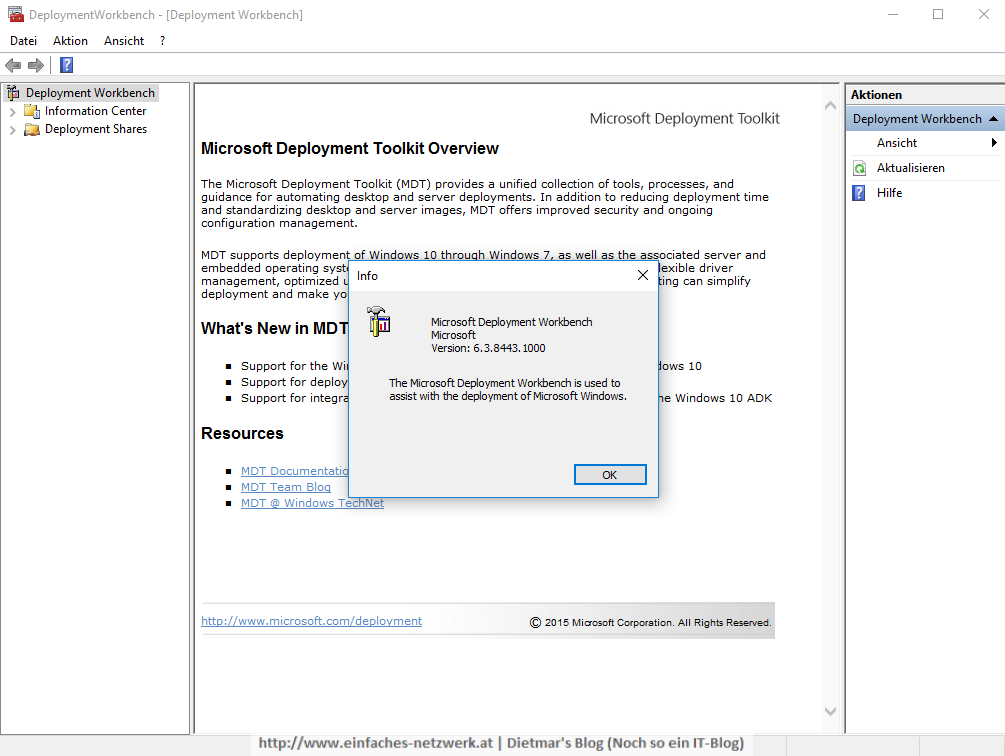
Ab sofort steht das Microsoft MDT Build 6.3.8443.1000 zur Verfügung. Das Tool kann auf der Seite Microsoft Deployment Toolkit (MDT) für x86 und x64 heruntergeladen werden. Das sind die Verbesserungen lt. Aaron Czechowski [Microsoft]:

  • Supported configuration updates
    • Windows ADK for Windows 10, version 1607
    • Windows 10, version 1607
    • Windows Server 2016
    • Configuration Manager, version 1606
  • Quality updates
    • Deployment Wizard scaling on high DPI devices
    • Johan’s „uber bug“ for computer replace scenario
    • Multiple fixes for the Windows 10 in-place upgrade scenario
    • Several fixes to Configure ADDS step
    • Removed imagex/ocsetup dependencies, rely solely on DISM
    • Includes the latest Configuration Manager task sequence binaries (version 1606)

Der Download-Link ist auch auf meiner Microsoft Download-Seite zu finden.

mdt8443

Windows 7 SP1 Convenience Rollup mit MDT installieren

Mitte Mai 2016 hat Microsoft das Windows 7 SP1 Convenience Rollup veröffentlicht. Dieses Rollup enthält alle Sicherheitsupdates und Updates bis April 2016. Ab diesem Zeitpunkt werden Updates in monatlichen Rollups, ähnlich wie bei Windows 10, verteilt (z.B.: Mai 2016 update Rollup für Windows 7 SP1 und Windows Server 2008 R2 SP1). Endlich eine gute Sache, wie ich finde. Im folgenden Artikel beschreibe ich die Installation mittels MDT. Voraussetzung sind die Kapitel 7-11 der Reihe „Ein einfaches Netzwerk“.

Vorbereitung

  1. Als Administrator an MDT01 anmelden
  2. Folgende Datei nach D:\Sourcen\Packages\Windows 7 x64 herunterladen
    1. April 2015 servicing stack update for Windows 7 (KB3020369)
  3. Folgende Datei nach D:\Sourcen\Applications\Microsoft\Microsoft Windows 7 SP1 Convenience Rollup x64 herunterladen
    1. Convenience rollup update for Windows 7 SP1 x64 (KB3125574)
  4. Folgendes AutoIt-Script erstellen und in D:\Sourcen\Applications\Microsoft\Microsoft Windows 7 SP1 Convenience Rollup x64 speichern und kompilieren
    #cs ------------------------------------------------------------
    
     AutoIt Version: 3.3.14.1
     Author:         Dietmar's Blog | Noch so ein IT-Blog
     Script Function: Install Software.
    
    #ce ------------------------------------------------------------
    
    ; Script Start - Add your code below here
    
    Opt("TrayIconHide", 1)
    
    RunWait("wusa.exe Windows6.1-KB3125574-v4-x64.msu /quiet /norestart")

Windows 7 SP1 Convenience Rollup zur Deployment Workbench hinzufügen

Hinweis: Alle vorhanden Updates für Internet Explorer 11 usw. dürfen nicht entfernt werden!

  1. Deployment Workbench starten
  2. Applications\Microsoft rechts anklicken > New Application
  3. New Application Wizard
    1. Application Type
      1. Application with source files > Next
    2. Details
      1. Publisher: Microsoft
      2. Application name: Windows 7 SP1 Convenience Rollup x64
      3. Language: Deutsch > Next
        ConvenienceRollup-001
    3. Source: D:\Sourcen\Applications\Microsoft\Microsoft Windows 7 SP1 Convenience Rollup x64 > Next
    4. Destination > Next
    5. Command Details
      1. Command line: install.exe > Next
        ConvenienceRollup-002
    6. Summary > Next
      ConvenienceRollup-003
    7. Confirmation > Finish
      ConvenienceRollup-004
  4. Packages\Windows 7 x64 rechts anklicken > Import OS Packages
  5. Import Package Wizard
    1. Specify Directory
      1. Package source Directory: D:\Sourcen\Packages\Windows 7 x64 > Next
        ConvenienceRollup-005
    2. Summary > Next
    3. Confirmation > Finish
      ConvenienceRollup-006
  6. Advanced Configuration\Selection Profiles anklicken
  7. Folgendes Selection Profile muss vorhanden sein, bei Bedarf erstellen
    1. Windows 7 x64 Updates
      ConvenienceRollup-008

Task Sequence anpassen

  1. Die Task Sequence Build and capture Windows 7 Enterprise x64 zum Bearbeiten öffnen
  2. Den Schritt Preinstall\Apply Patches anklicken
  3. Sicherstellen, dass das Selection Profile Windows 7 x64 Updates ausgewählt ist
    ConvenienceRollup-009
  4. Vor die Gruppe Standard Software die Gruppe Convenience Rollup erstellen
  5. Zur Gruppe Convenience Rollup folgende Schritte hinzufügen:
    1. Type: Install Application
      1. Name: INSTALL – Microsoft Windows 7 SP1 Convenience Rollup x64
      2. Install a single application: Microsoft Windows 7 SP1 Convenience Rollup x64
    2. Type: Restart Computer
      ConvenienceRollup-012
  6. Fenster mit OK schließen

Windows 7 Enterprise x64-Image erstellen

  1. Hyper-V-Rechner (Generation 1) mit OSDBuildPE_x64.iso starten
  2. Task Sequence auswählen
    ConvenienceRollup-010
  3. Das Image wird erstellt
    ConvenienceRollup-011

Nach der Installation des Images waren etwa 90 Windows-Updates installiert. Das ist doch eine große Anzahl weniger als vor dem Windows 7 SP1 Convenience Rollup.

Windows Update Client for Windows 7: March 2016

Microsoft hat für Windows 7 SP1 und Windows Server 2008 R2 einen verbesserten Windows Update Client veröffentlicht. Hier geht’s zu den Downloads:

Die Updates wie in Teil Windows 7 Standardsoftware vorbereiten und Teil Windows 7-Image mit MDT erstellen beschrieben zum MDT Build Share hinzufügen.

UPDATES-001