Microsoft hat im Mai 2016 das WSUS-Update KB3159706 veröffentlicht. Dieses Update ermöglicht die ESD-Entschlüsselung mit WSUS auf Windows Server 2012 und 2012 R2. Dieses Update kann anstelle bzw. über das Update KB3148812 installiert werden, mit dem es Probleme gegeben hat.
Nach der Installation des Updates KB3159706 kann sich die WSUS-Konsole nicht mit WSUS verbinden, es sind manuelle Schritte notwendig.
WSUS nach der Installation von KB3159706 konfigurieren
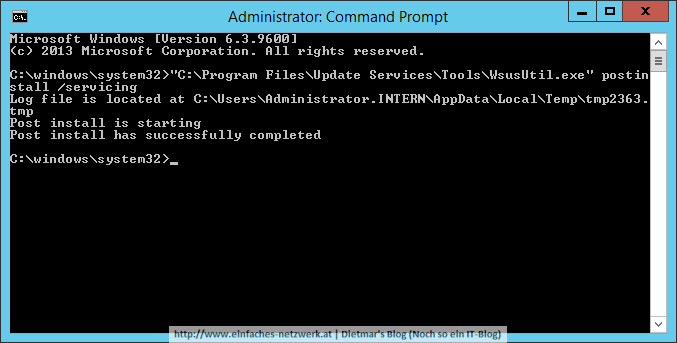
- Als Administrator an WSUS01 anmelden
- Command Prompt (Admin) starten
- Folgende Befehlszeile ausführen
"C:\Program Files\Update Services\Tools\wsusutil.exe" postinstall /servicing
- Server Manager > Manage > Add Roles and Features
- Add Roles and Features Wizard
- Before You Begin > Next
- Installation Type: Role-based or feature-based installation > Next
- Server Selection: WSUS01.intern.einfaches-netzwerk.at > Next
- Server Roles > Next
- Features
- .NET Framework 4.5 Features\WCF Services\HTTP Activation > Next
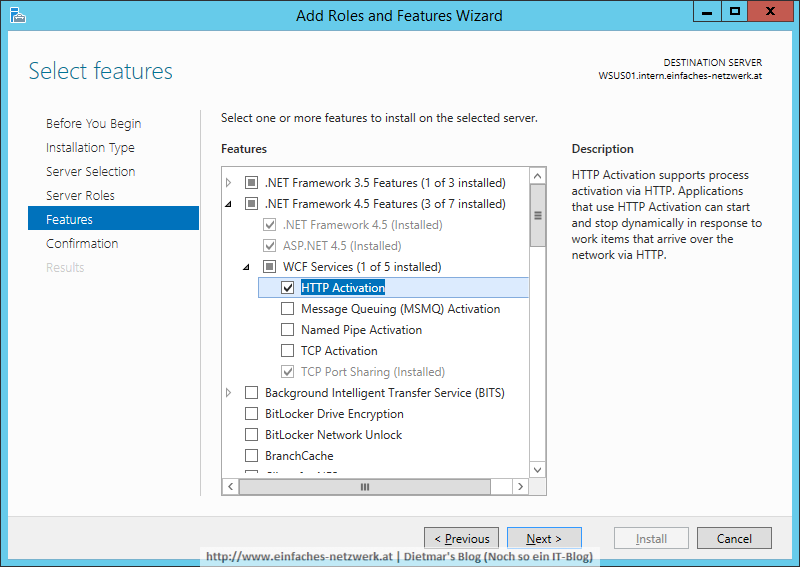
- .NET Framework 4.5 Features\WCF Services\HTTP Activation > Next
- Confirmation > Install
- Results > Close
- WSUS01 neu starten
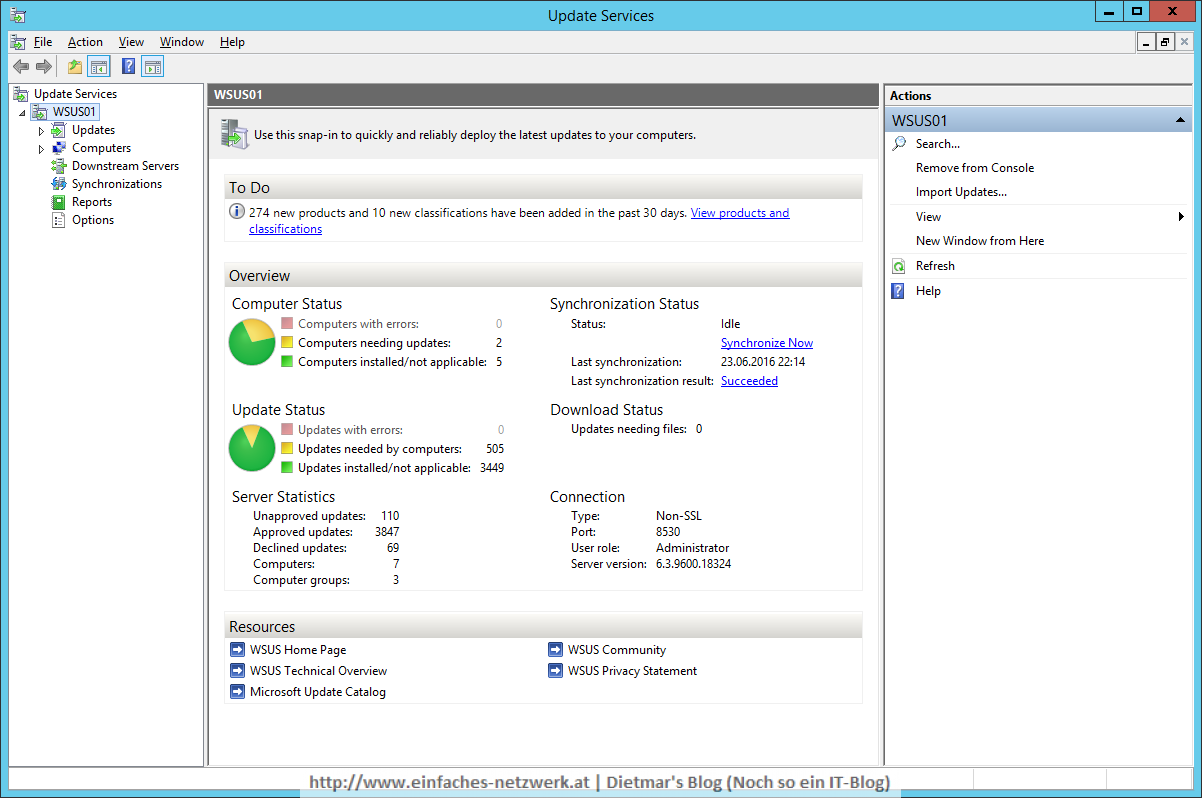
Jetzt kann sich die WSUS-Konsole wieder mit WSUS verbinden.
Hinweis: Dieses Update auszulassen bedeutet, dass das Windows 10 Anniversary Update und zukünftige Feature-Updates nicht mehr mit WSUS verteilt werden können. Windows Server 2016 besitzt diese Funktionalität schon in der RTM-Version.