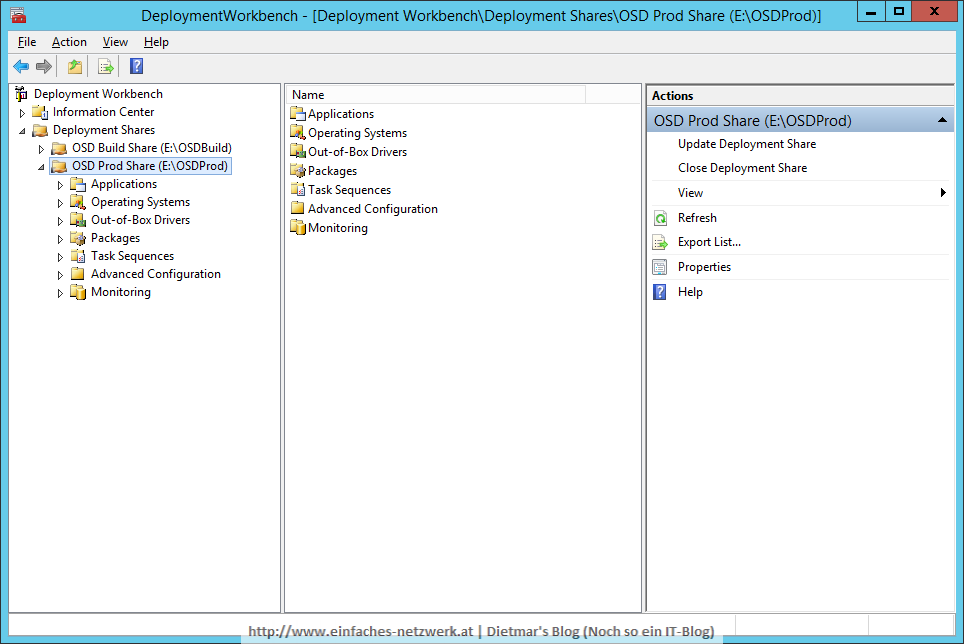
In diesem Teil werde ich den OSDProd Deployment Share erstellen und die ersten Inhalte hinzufügen.
OSDProd Deployment Share erstellen
Die detaillierte Anleitung siehe OSDBuild Deployment Share erstellen
- Als Administrator an MDT1 anmelden
- Deployment Workbench starten
- Folgenden Deployment Share hinzufügen
- Deployment share path: E:\OSDProd
- Share name: OSDProd$
- Descriptive name: OSD Prod Share
Anwendungen hinzufügen
Die detaillierte Anleitung siehe Anwendungen zur Deployment Workbench hinzufügen
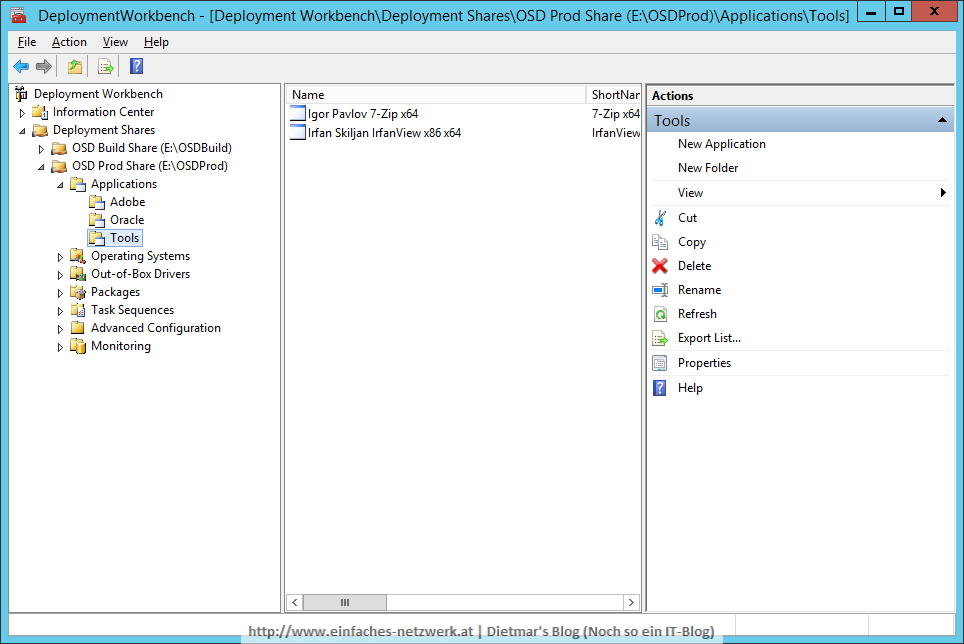
- Folgende Ordner unter Applications erstellen
- Adobe
- Oracle
- Tools
- Folgende Anwendungen zum Ordner Adobe hinzufügen
- Adobe AIR x86 x64
- Applcation type: Application with source files
- Publisher: Adobe
- Application name: AIR x86 x64
- Source directory: E:\Sourcen\Software\Adobe\Adobe AIR x86 x64
- Destination: Adobe AIR x86 x64
- Command line: install.exe
- Adobe Reader DC x86 x64
- Applcation type: Application with source files
- Publisher: Adobe
- Application name: Reader DC x86 x64
- Source directory: E:\Sourcen\Software\Adobe\Adobe Reader DC x86 x64
- Destination: Adobe Reader DC x86 x64
- Command line: install.exe
- Adobe Shockwave Player x86 x64
- Applcation type: Application with source files
- Publisher: Adobe
- Application name: Shockwave Player x86 x64
- Source directory: E:\Sourcen\Software\Adobe\Adobe Shockwave Player x86 x64
- Destination: Adobe Shockwave Player x86 x64
- Command line: install.exe
- Adobe AIR x86 x64
- Folgende Anwendungen zum Ordner Oracle hinzufügen
- Oracle Java RE 8 x86 x64
- Applcation type: Application with source files
- Publisher: Oracle
- Application name: Java RE 8 x86 x64
- Source directory: E:\Sourcen\Software\Oracle\Oracle Java RE 8 x86 x64
- Destination: Oracle Java RE 8 x86 x64
- Command line: install.exe
- Oracle Java RE 8 x86 x64
- Folgende Anwendungen zum Ordner Tools hinzufügen
- Irfan Skiljan IrfanView x86 x64
- Applcation type: Application with source files
- Publisher: Irfan Skiljan
- Application name: IrfanView x86 x64
- Source directory: E:\Sourcen\Software\Tools\Irfan Skiljan IrfanView x86 x64
- Destination: Irfan Skiljan IrfanView x86 x64
- Command line: install.exe
- Igor Pavlov 7-Zip x64
- Applcation type: Application with source files
- Publisher: Igor Pavlov
- Application name: 7-Zip x64
- Source directory: E:\Sourcen\Software\Tools\Igor Pavlov 7-Zip x64
- Destination: Igor Pavlov 7-Zip x64
- Command line: install.exe
- Irfan Skiljan IrfanView x86 x64
Anwendungen im Deployment Wizard ausblenden
Die Laufzeiten von Adobe und Oracle Java RE8 werden immer installert und sollen nicht im Deployment Wizard zur Auswahl angezeigt werden.
- Die Anwendung Adobe AIR x86 x64 rechts anklicken > Properties
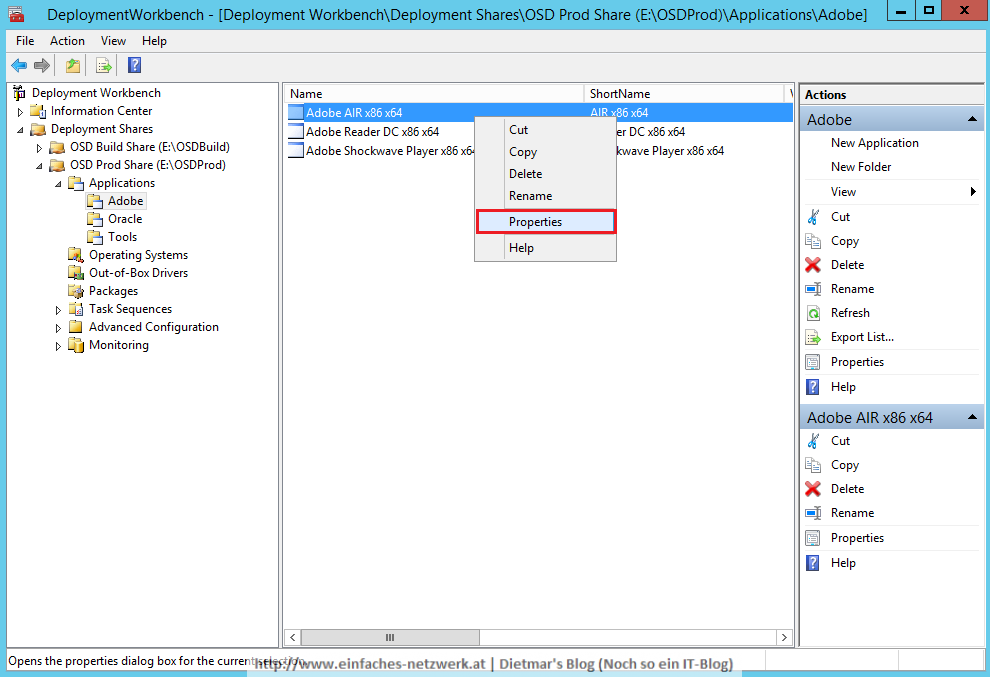
- Hide this application in the Deployment Wizard aktivieren
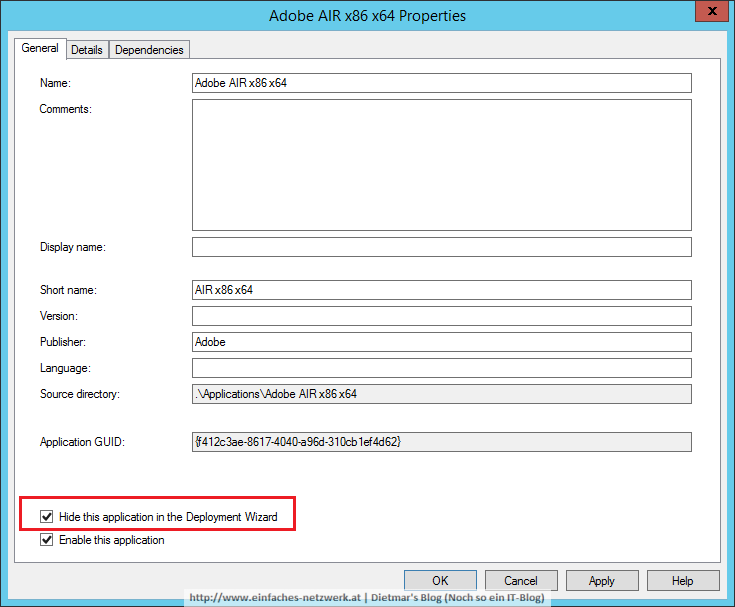
- Fenster mit OK schließen
- Folgende Anwendung im Deployment Wizard ausblenden
- Adobe AIR x86 x64
- Adobe Shockwave Player x86 x64
- Oracle Java RE 8 x86 x64
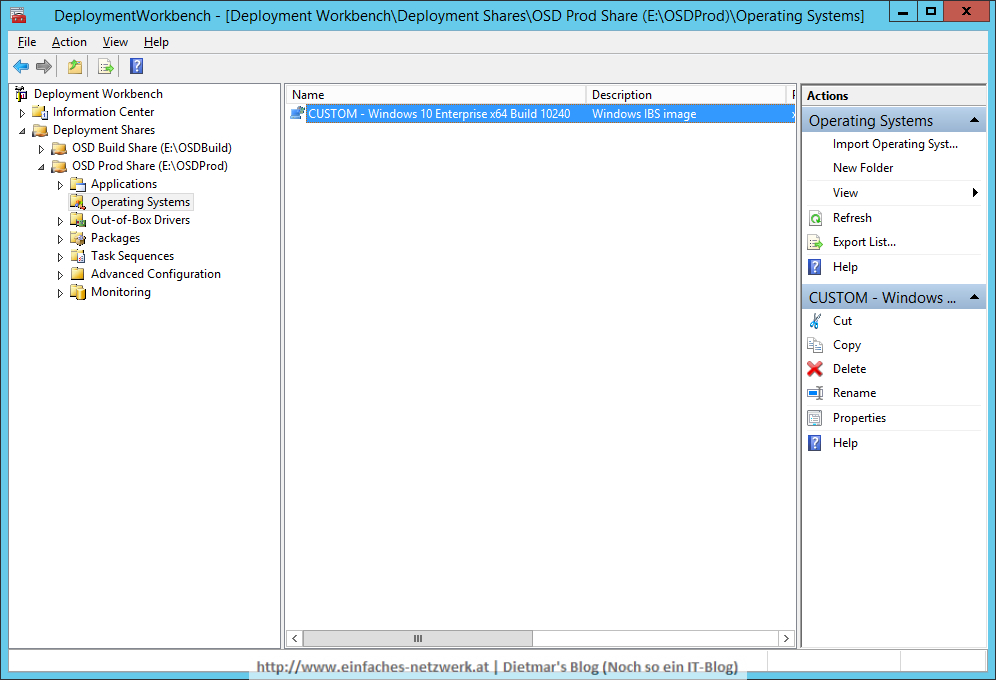
Betriebssystem hinzufügen
Die detaillierte Anleitung siehe Betriebssystem zur Deployment Workbench hinzufügen
- Folgendes Betriebssystem hinzufügen
- OS Type
- Custom image file
- Image
- Source: E:\OSDBuild\Captures\W10240X64-001.wim
- Setup
- Copy setup files from specified path: E:\OSDBuild\Operating Systems\W10240X64
- Destination
- Destination directory name: Windows 10 Enterprise x64 Build 10240
- OS Type
- Das importierte Image umbenennen nach CUSTOM – Windows 10 Enterprise x64 Build 10240
Im nächsten Teil werde ich Treiber importieren und ein Selection Profile erstellen.