In diesem Teil werde ich eine Task Sequence zum OSD Prod Share hinzufügen und konfigurieren, ähnlich Task Sequence zur Deployment Workbench hinzufügen und Task Sequence konfigurieren.
Task Sequence zum OSD Prod Share hinzufügen
- Als Administrator an MDT1 anmelden
- Deployment Workbench starten
- OSD Prod Share erweitern
- Folgende Task Sequence hinzufügen
- General Settings
- Task sequence ID: W10240X64-001
- Task sequence name: Windows 10 x64 Enterprise x64 Build 10240, Office 2013 Pro Plus
- Select Template
- Template: Standard Client Task Sequence
- Select OS
- CUSTOM – Windows 10 Enterprise x64 Build 10240
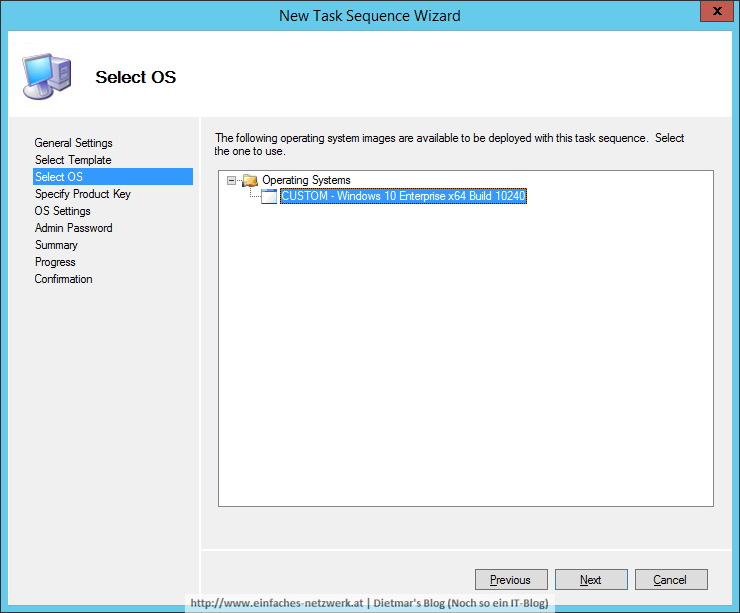
- CUSTOM – Windows 10 Enterprise x64 Build 10240
- OS Settings
- Full name: Einfaches Netzwerk
- Organization: Einfaches Netzwerk
- Internet Explorer Home Page: about:blank
- Admin Password
- Password: Password1
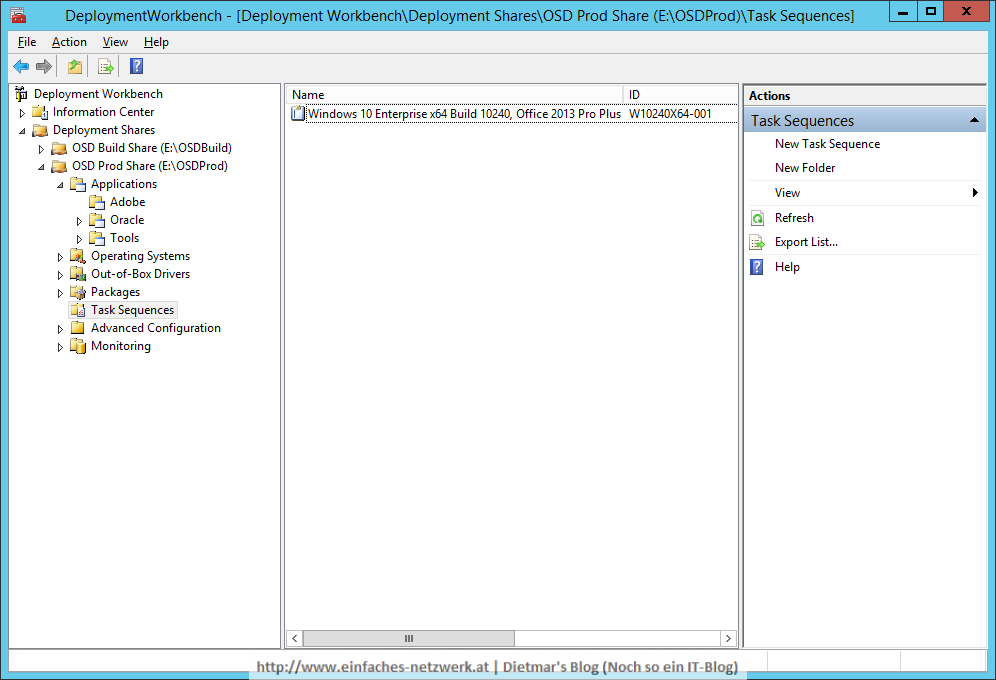
- General Settings
- Die Task Sequence in der Deployment Workbench
Task Sequence konfigurieren
- Task Sequence wie folgt konfigurieren
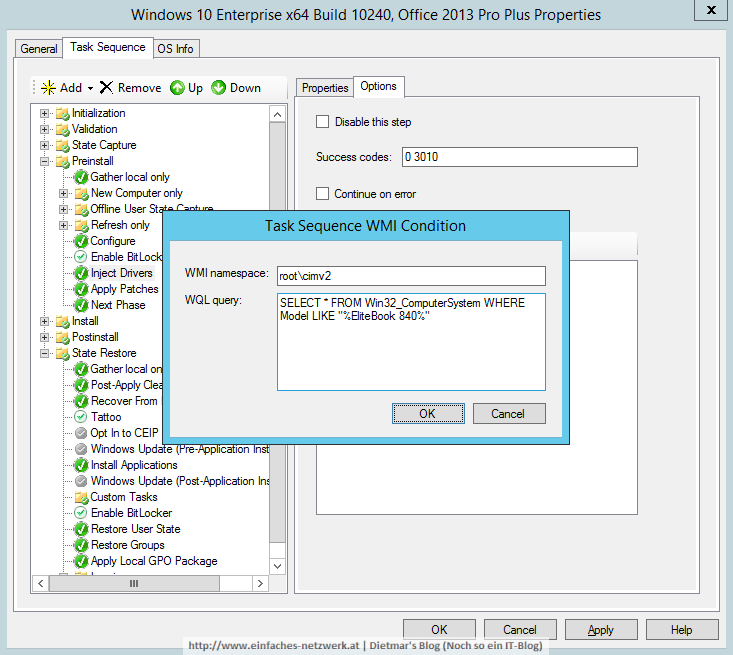
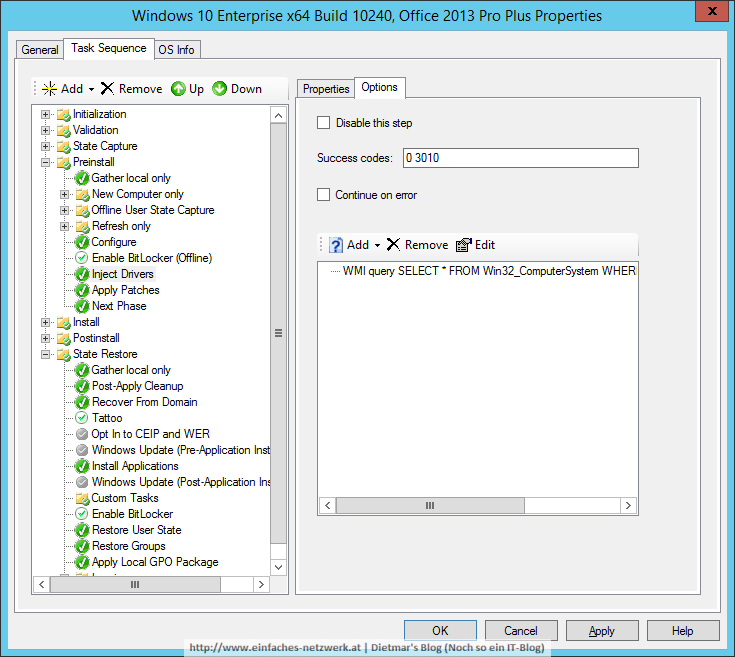
- Phase Preinstall
- Inject Drivers wie folgt anpassen
- Name: Inject HP EliteBook 840 G1 Drivers
- Selection Profile: Windows 10 x64 – HP EliteBook 840 G1
- Install all drivers from the selection profile

- Als Bedingung folgende WMI query hinzufügen
SELECT * FROM Win32_ComputerSystem WHERE Model LIKE "%EliteBook 840%"
- Apply Patches wie folgt anpassen
- Selection Profile: Windows 10 x64 – Packages

- Selection Profile: Windows 10 x64 – Packages
- Inject Drivers wie folgt anpassen
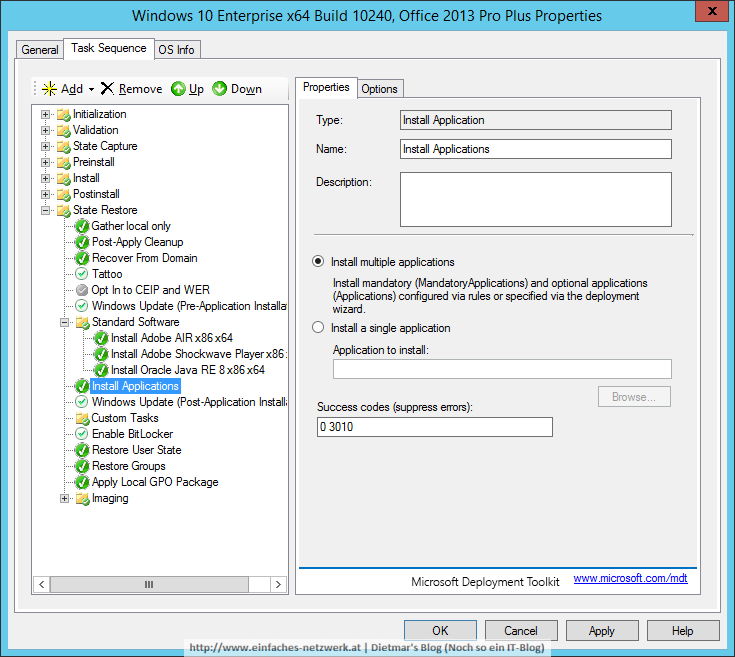
- Phase State Restore
- Windows Update (Pre-Application Installation) aktivieren
- Gleich danach die Gruppe Standard Software erstellen
- Folgende Applications zur Gruppe Standard Software hinzufügen
- Adobe AIR x86 x64
- Adobe Shockwave Player x86 x64
- Oracle Java RE 8 x86 x64
- Windows Update (Post-Application Installation) aktivieren
- Phase Preinstall
- Fenster mit OK schließen