In diesem Teil werde ich die CustomSettings.ini und Bootstrap.ini konfigurieren. Eine aktuelle Dokumentation zu MDT 2013 Update 1 gibt es derzeit nicht.
Die CustomSettings.ini konfigurieren
- Als Administrator an MDT1 anmelden
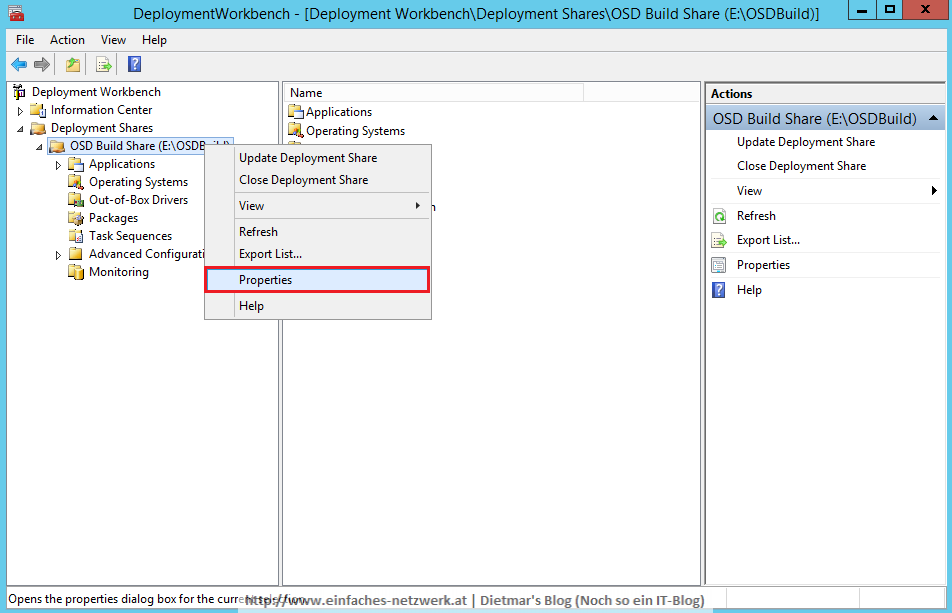
- Deployment Workbench starten
- Deployment Shares erweitern
- OSD Build Share rechts anklicken > Properties

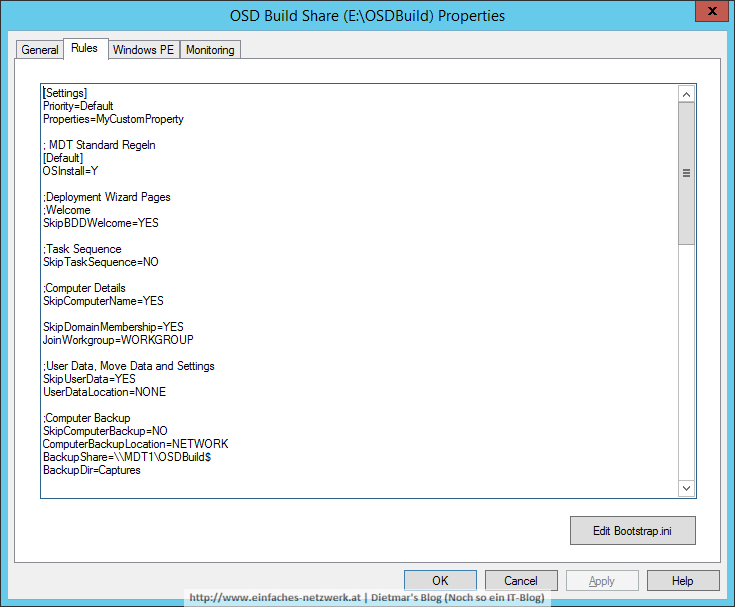
- Auf den Reiter Rules wechseln
- Folgende CustomSettings.ini erstellen:
<span style="font-family: Courier New;">[Settings]
Priority=Default
Properties=MyCustomProperty

;MDT Standard Regeln
[Default]
OSInstall=YES

;Deployment Wizard Pages
;Welcome
SkipBDDWelcome=YES

;Task Sequence
SkipTaskSequence=NO

;Computer Details
SkipComputerName=YES

SkipDomainMembership=YES
JoinWorkgroup=WORKGROUP

;User Data, Move Data and Settings
SkipUserData=YES
UserDataLocation=NONE

;Computer Backup
SkipComputerBackup=YES
ComputerBackupLocation=NETWORK
BackupShare=\\MDT1\OSDBuild$
BackupDir=Captures
BackupFile=W10240X64-001.wim

;Product Key
SkipProductKey=YES

;Locale and Time
SkipLocaleSelection=YES
UserLocale=de-AT
UILanguage=de-DE
KeyboardLocale=de-DE
KeyboardLocalePE=de-DE

SkipTimeZone=YES
TimeZoneName=W. Europe Standard Time

;Roles and Features
SkipRoles=YES

;Applications
SkipApplications=YES

;Administrator Password
SkipAdminPassword=YES
AdminPassword=Password1

;Local Administrators
SkipAdminAccounts=YES

;Capture Image
SkipCapture=YES
DoCapture=YES

;Bitlocker
SkipBitLocker=YES
BDEInstallSuppress=YES
DoNotCreateExtraPartition=YES

;Ready to begin
SkipSummary=YES
SkipFinalSummary=NO

;Updates
WSUSServer=https://wsus.intern.einfaches-netzwerk.at:8531

ApplyGPOPack=NO
FinishAction=SHUTDOWN
_SMSTSORGNAME=Einfaches-Netzwerk

;Logging
SLShare=\\MDT1\Logs$</span>
Die Bootstrap.ini konfigurieren
- Auf Edit Bootstrap.ini klicken

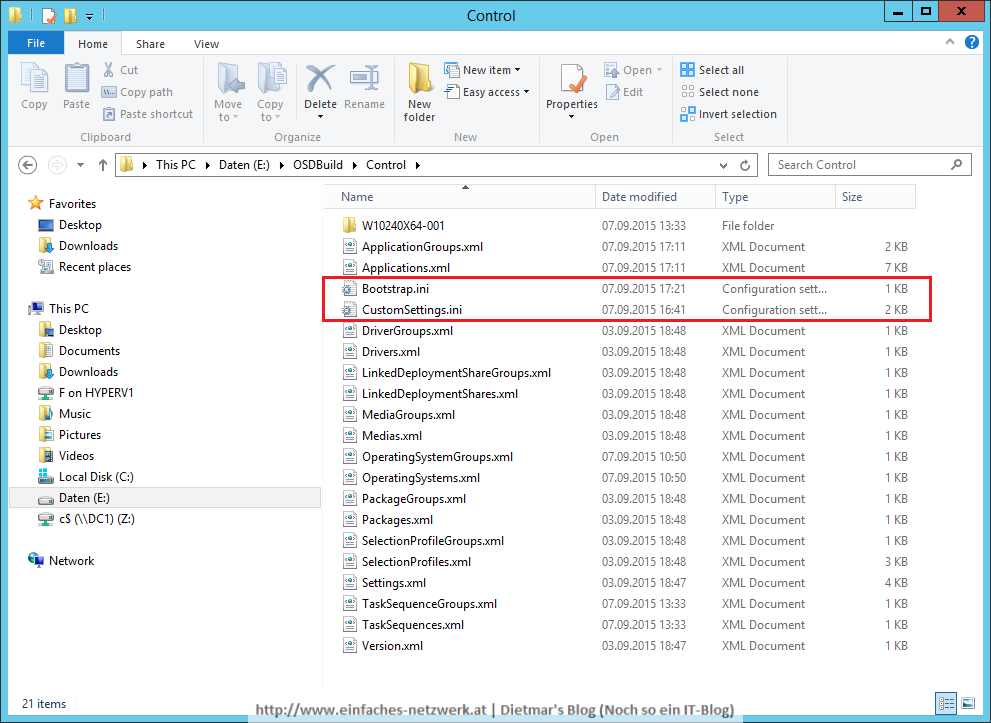
Folgende Bootstrap.ini erstellen:<span style="font-family: Courier New;">[Settings] Priority=Default [Default] DeployRoot=\\MDT1\OSDBuild$ UserDomain=intern.einfaches-netzwerk.at UserID=osd_build UserPassword=Password1 KeyboardLocale=de-DE KeyboardLocalePE=de-DE SkipBDDWelcome=YES</span>- Die Bootstrap.ini und CustomSettings.ini im Datei-Explorer

Im nächsten Schritt werde ich Windows PE konfigurieren, danach kann ich das Windows 10-Image erstellen.

Hallo 🙂 vielen Dank erstmal für das tolle Tut.
Ich habe für mein Projekt die Schritte so befolgt und die custum und die bootstrap wie oben angepasst. Bei der Installation hängt nun aber mein Referenzcomputer noch vor der Auswahl Tasksequenz im grauen MDT-Bildschirm. Woran kann das liegen?
Hallo! Hast du folgende Stelle für deine Umgebung angepasst?
[Default]
DeployRoot=\\MDT1\OSDBuild$
UserDomain=intern.einfaches-netzwerk.at
UserID=osd_build
UserPassword=Password1
Ich vermute, dass der Benutzer den du hier angegeben hast, kein Recht auf die Freigabe hat. Überprüfe das bitte mal!
Gib bitte Bescheid, ob’s geholfen hat! Danke!