Für BitLocker Network Unlock sind folgende Komponenten notwendig:
- Windows Server 2012 oder Windows Server 2012 R2 (Teil 1, Teil 7)
- Windows 8 x64 oder Windows 8.1 x64 (Teil 14ff)
- UEFI Firmware 2.3.1 mit DHCP-Treiber im native Mode*
- Einen Server mit Windows Deployment Services (Teil 13)
- BitLocker Network Unlock Feature auf einem Server installiert (in diesem Teil weiter unten)
- Einen DHCP Server, der nicht am WDS installiert ist (Teil 4)
- Public Key Infrastructure (Teil 6ff)
- Network Unlock Gruppenrichtlinie (in diesem Teil weiter unten; Teil 6h, Teil 20)
* UEFI Firmware 2.3.1 mit DHCP-Treiber: Es ist mir nicht gelungen, die Firmware-Version meines HP EliteBook 840 G1 (CLIENT004) festzustellen. Allerdings benötigt SecureBoot mindestens UEFI 2.3.1. Weil im BIOS Einstellungen zu SecureBoot vorhanden sind, nehme ich an, dass die Version passt. So habe ich mein HP EliteBook 840 G1 konfiguriert:
- Notebook starten > ESC drücken
- Mit F10 das BIOS Setup starten
- Erweitert > Bootoptionen
- Schnell-Boot deaktiviert (erlaubt nur PXE und den Start von der internen Festplatte)
- Natives UEFI (ohne CSM) aktiviert
- SecureBoot aktiviert
- Einstellungen mit F10 übernehmen
BitLocker Network Unlock konfigurieren – Schritte:
- Die Zertifikatsvorlage für BitLocker Network Unlock konfigurieren
- Das Feature BitLocker Network Unlock installieren
- Zertifikat anfordern und exportieren
- Zertifikat mit Private Key (.pfx) am WDS-Server importieren
- Gruppenrichtlinien für Network Unlock konfigurieren
- BitLocker Network Unlock mit CLIENT004 testen
- Windows Deployment Services Debug-Log aktivieren
Die Zertifikatsvorlage für BitLocker Network Unlock konfigurieren
- Als Administrator an SERVER01 anmelden
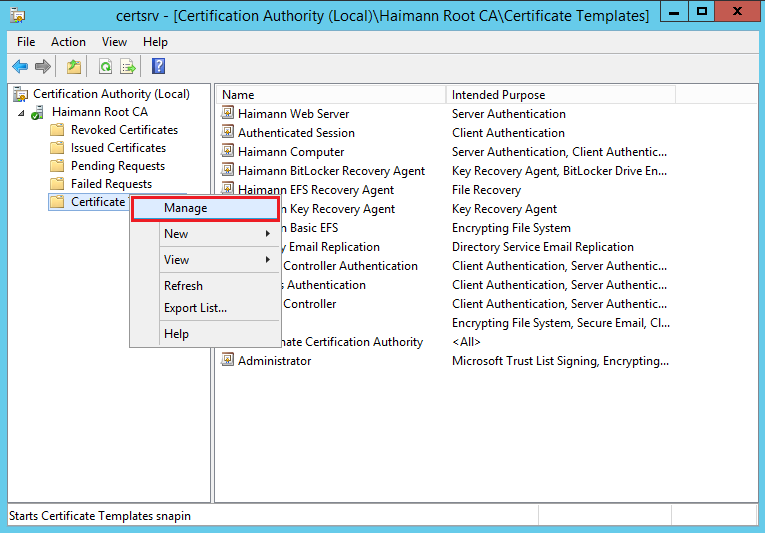
- Server Manager > Local Server > Tools > Certification Authority
- Haimann Root CA erweitern
- Certificate Templates rechts anklicken und im Kontextmenü Manage anklicken
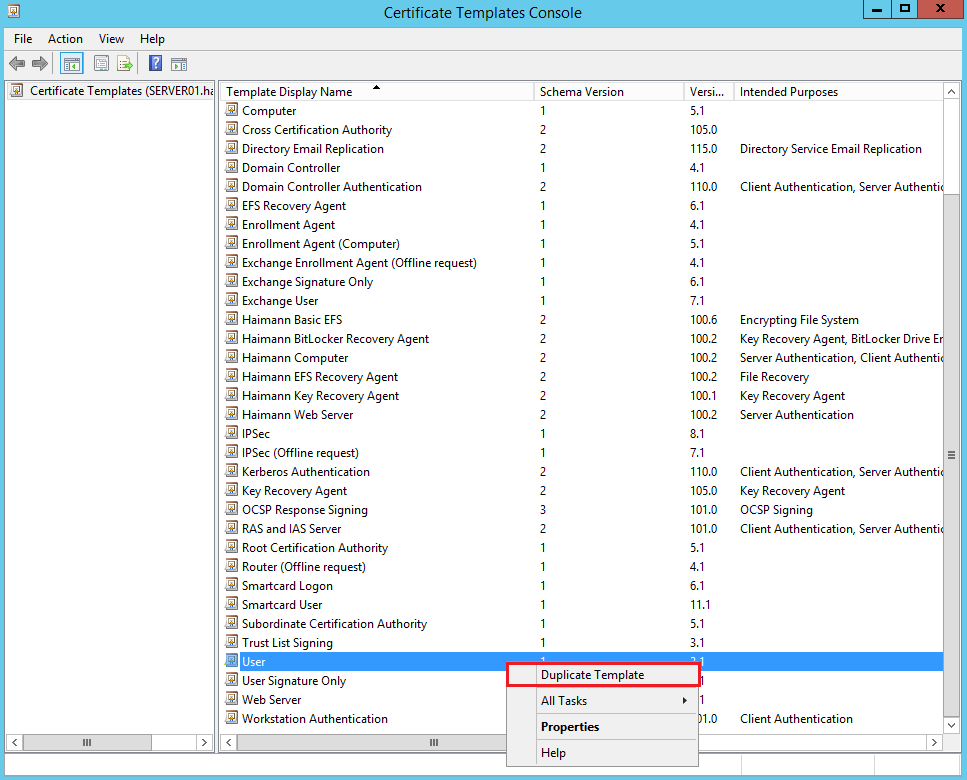
- Im Detailbereich die Zertifikatsvorlage User rechts anklicken und im Kontextmenü Duplicate Template anklicken
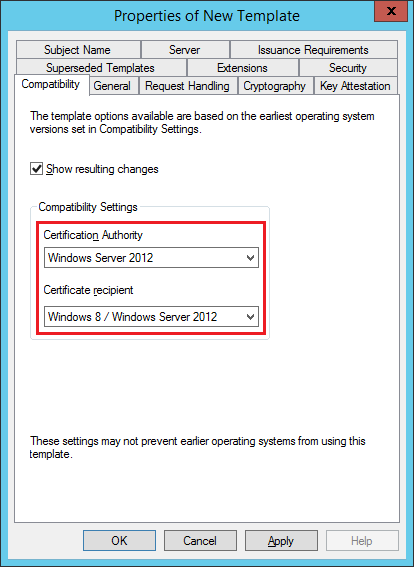
- Properties of New Template
- Reiter Compatibility
- Certification Authority: Windows Server 2012
- Certificate recipient: Windows 8
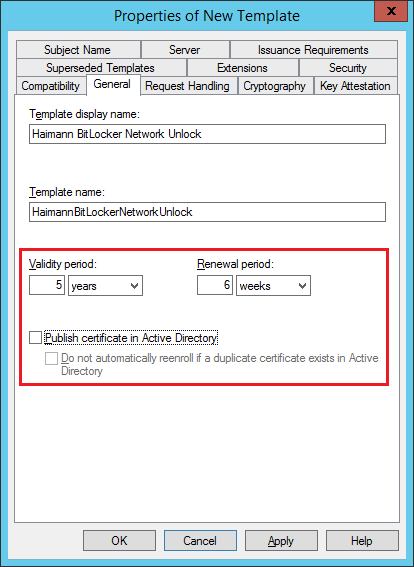
- Reiter General:
- Template display name: Haimann BitLocker Network Unlock
- Validity period: 5 years
- Publish certificate in Active Directory deaktivieren
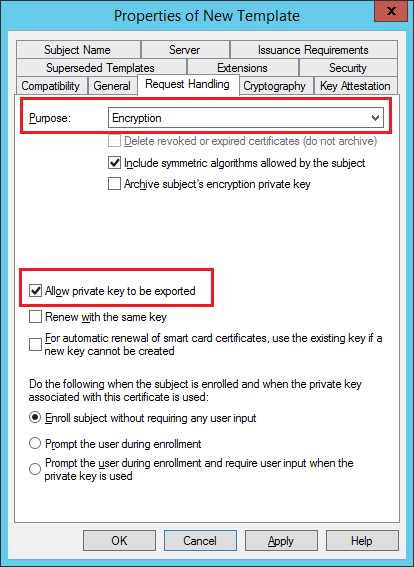
- Reiter Request Handling
- Purpose: Encryption
- Allow pivate key to be exported aktivieren
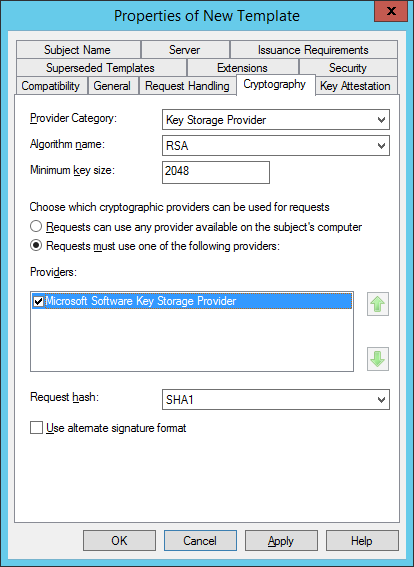
- Reiter Cryptography
- Provider Category: Key Storage Provider
- Algorithm name: RSA
- Minimum key size: 2048
- Requests must one of the following providers:
- Microsoft Software Key Storage Provider
- Microsoft Software Key Storage Provider
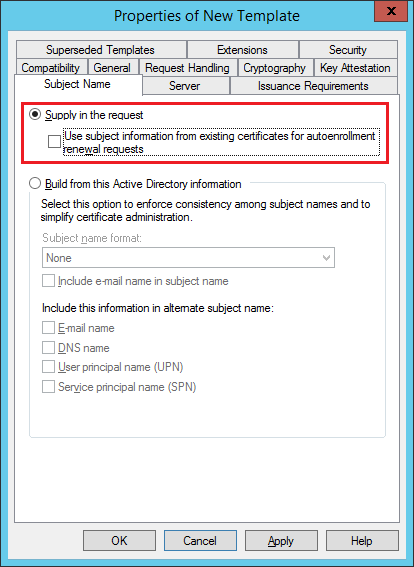
- Reiter Subject Name
- Supply in the request
- Supply in the request
- Reiter Extensions
- Application Policies > Edit…
- Edit Application Policies Extensions
- Alle Einträge markieren > Remove
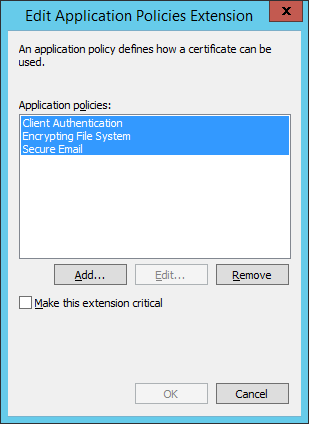
- Add…
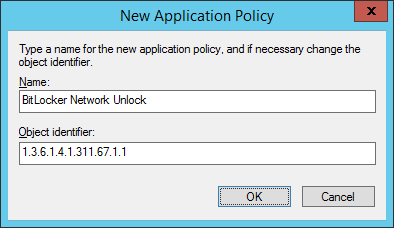
- Add Application Policy > New…
- New Application Policy
- Name: BitLocker Network Unlock
- Object identifier: 1.3.6.1.4.1.311.67.1.1 > OK > OK > OK
- Alle Einträge markieren > Remove
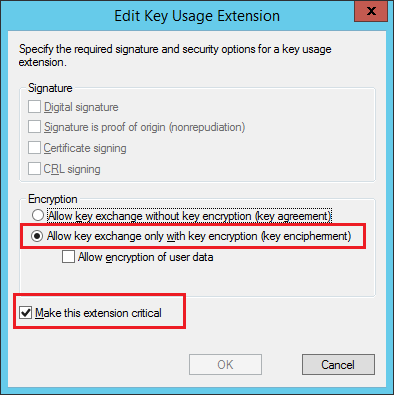
- Key usage markieren > Edit…
- Allow key exchange only with key encryption (key encipherment)
- Make this extension critical > OK
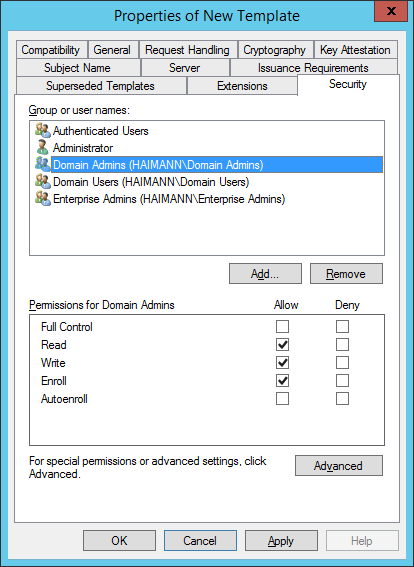
- Reiter Security
- Allow Domain Admins Read, Write, Enroll > OK

- Allow Domain Admins Read, Write, Enroll > OK
- Reiter Compatibility
- Certificate Templates Console schließen
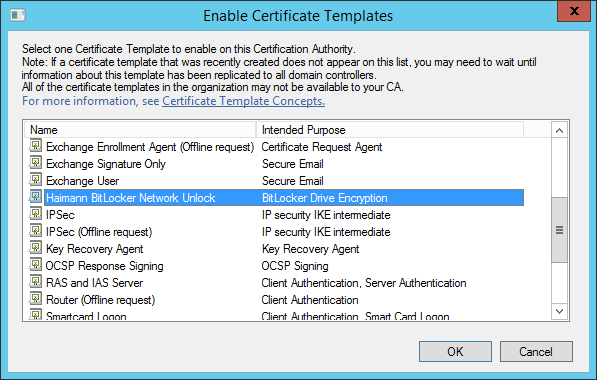
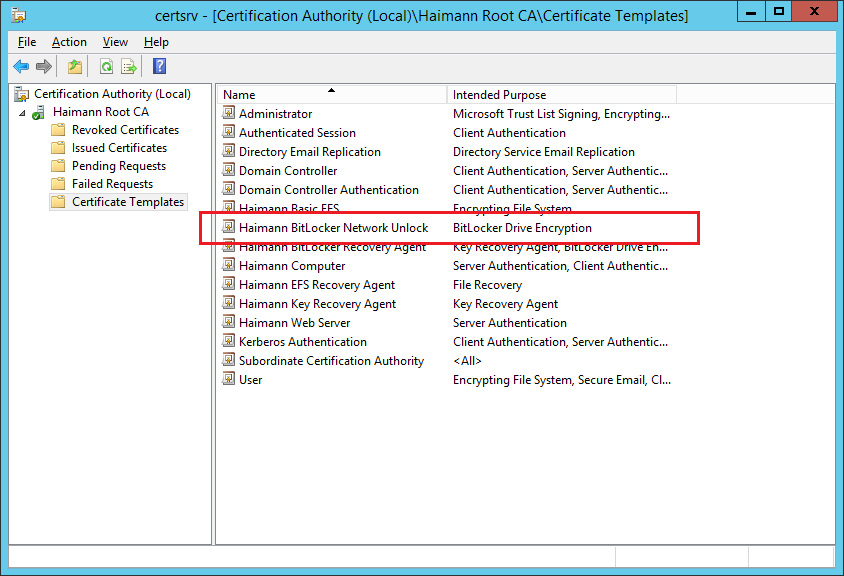
- In der Certification Authority-Konsole Certificate Templates rechts anklicken und im Kontextmenü New > Certificate Template to Issue anklicken
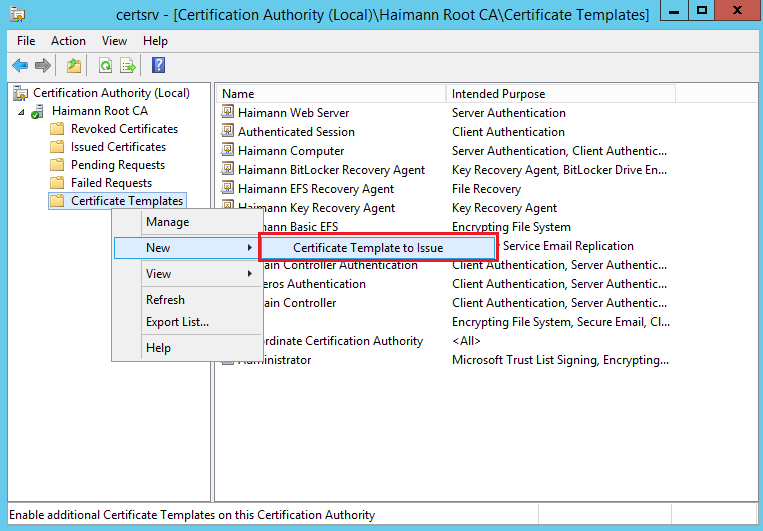
- In der Liste Haimann BitLocker Network Unlock auswählen > OK
- Alle Fenster schließen und Administrator von SERVER01 abmelden
Das Feature BitLocker Network Unlock installieren
- Als Administrator an SERVER02 anmelden
- Server Manager > Local Server > Manage > Add Roles and Features
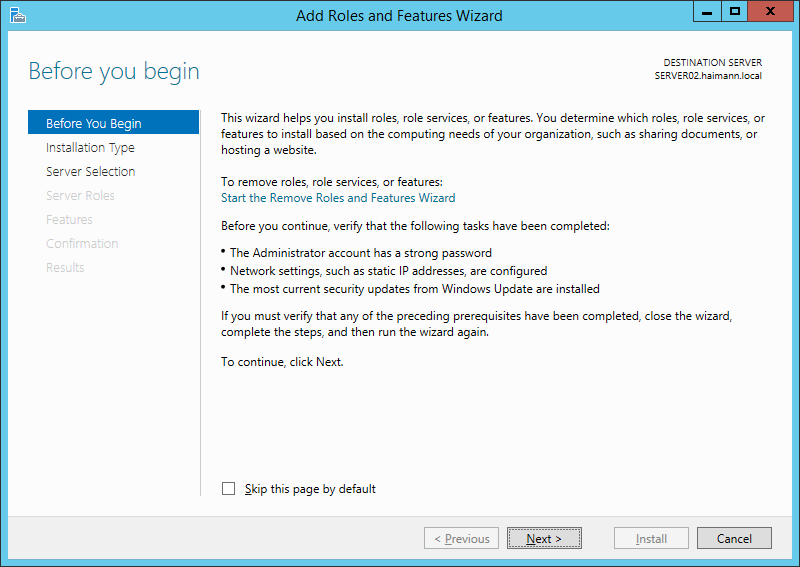
- Add Roles and Features Wizard
- Before You Begin > Next
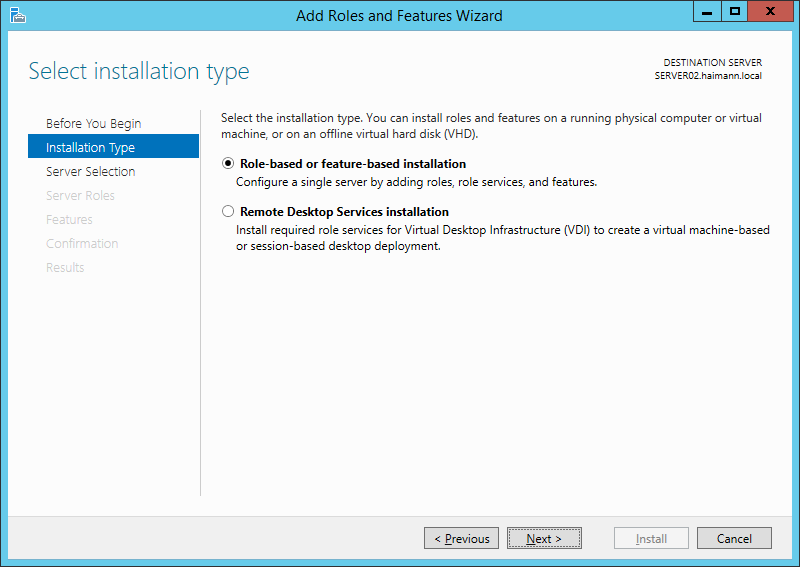
- Installation Type: Role-based or feature-based installation > Next
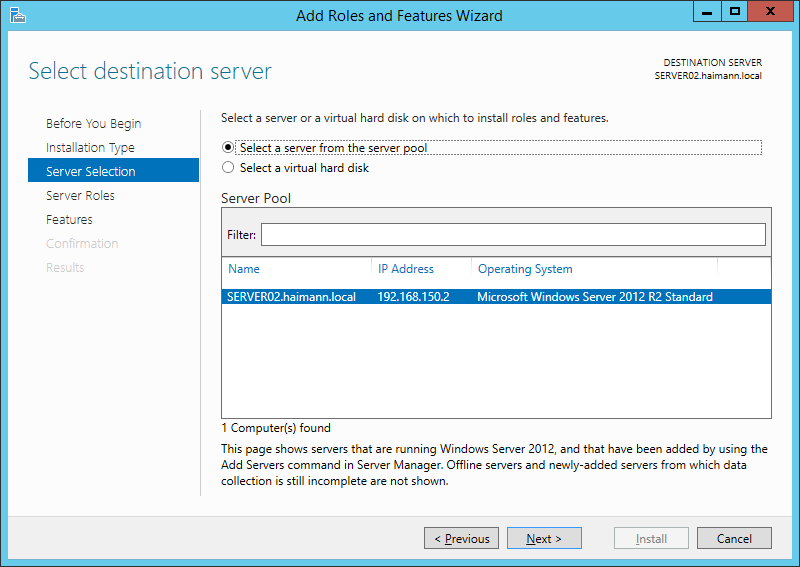
- Server Selection: SERVER02 > Next
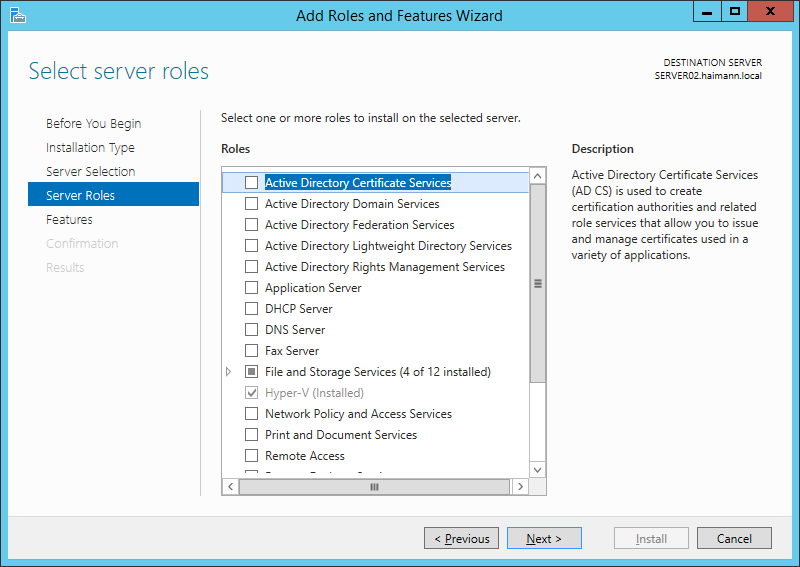
- Server Roles > Next
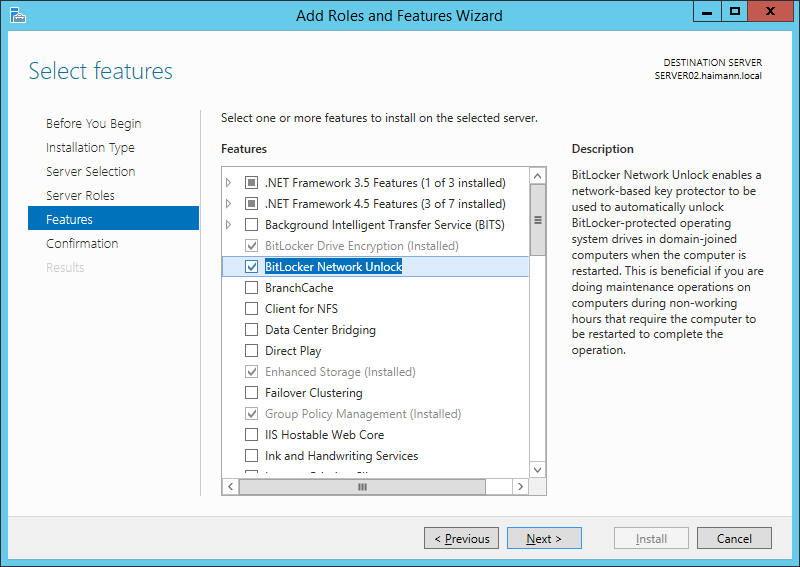
- Features: BitLocker Network Unlock > Next
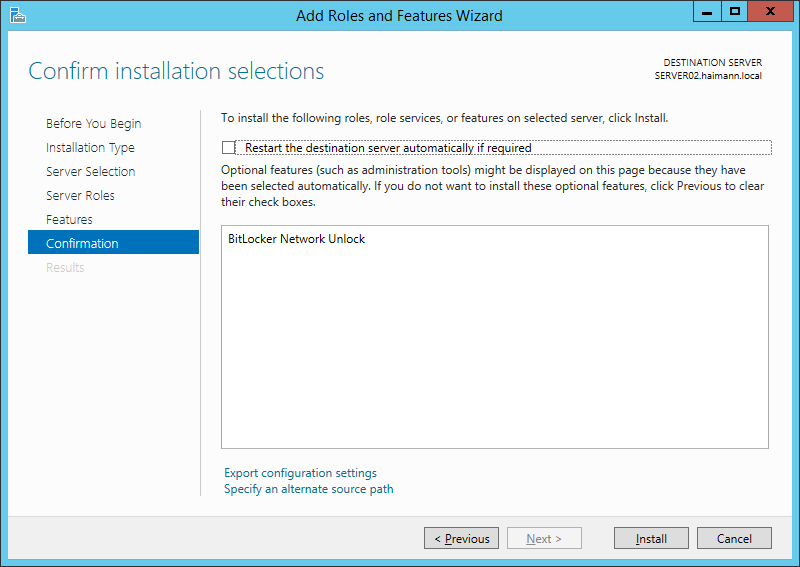
- Confirmation > Install
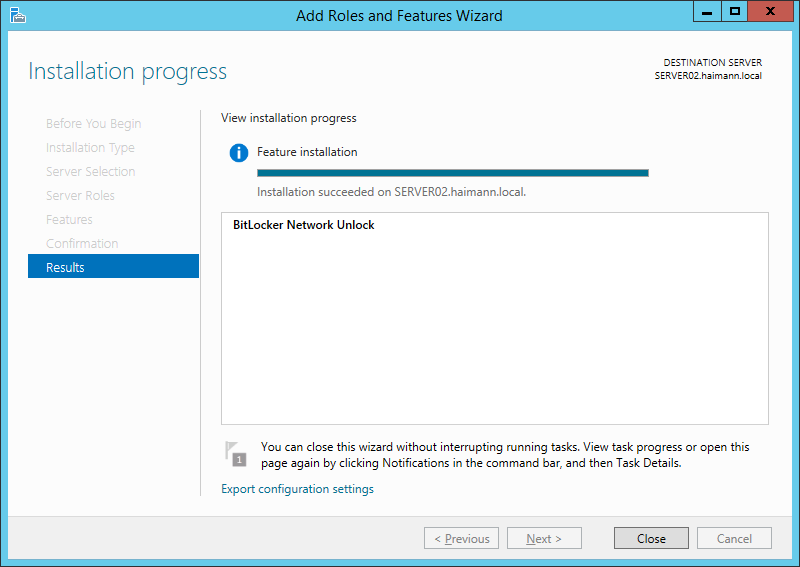
- Results > Close
- Before You Begin > Next
Zertifikat anfordern und exportieren
- Auf SERVER02 eine MMC als Administrator starten
- Das Certificates-Snap-in für My user account hinzufügen
- Certificates erweitern
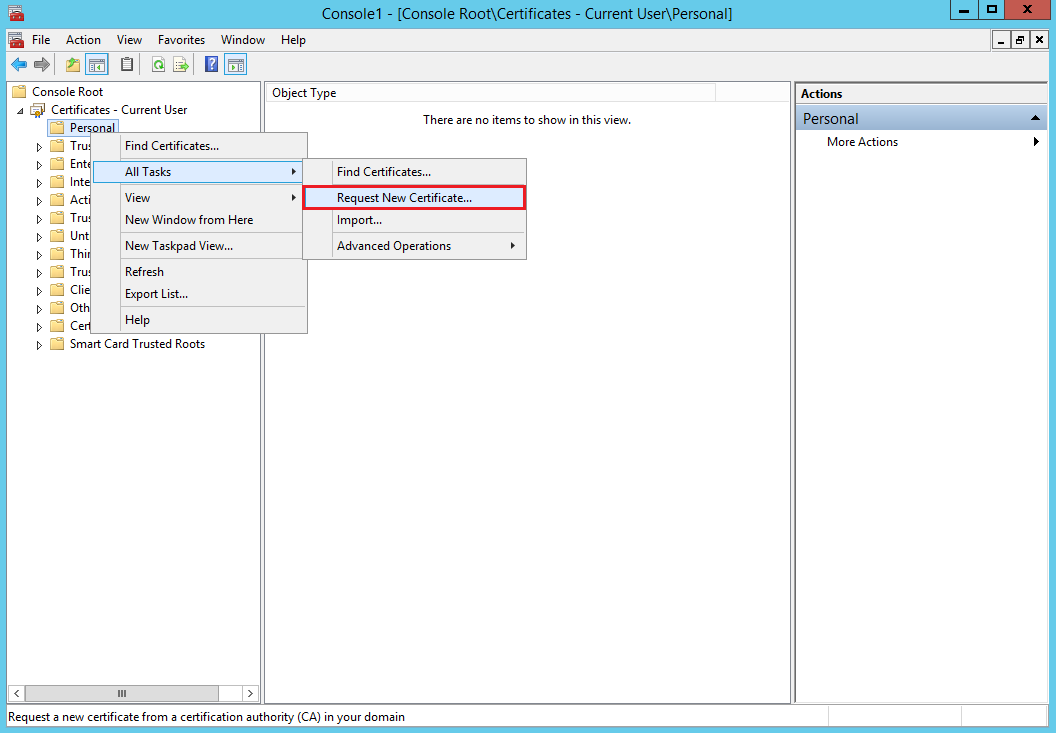
- Personal rechts anklicken und im Kontextmenü All Tasks > Request New Certificate… anklicken
- Certificate Enrollment
- Before You Begin > Next
- Select Certificate Enrollment Policy > Next

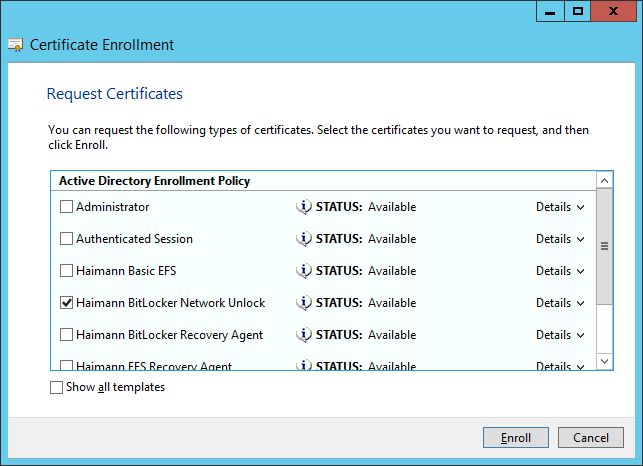
- Request Certificates
- More information…
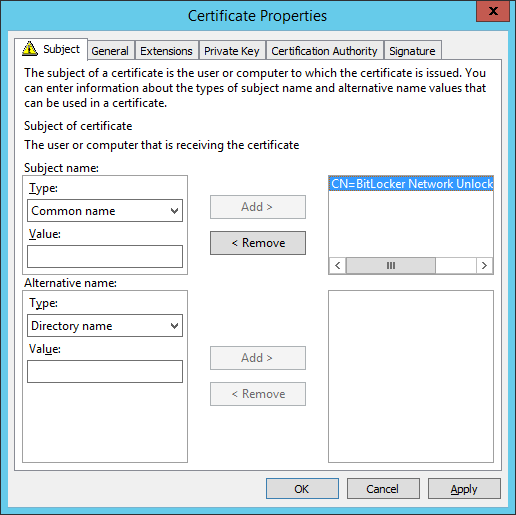
- Certificate Properties
- Reiter Subject
- Subject name:
- Type: Common Name
- Value: BitLocker Network Unlock for Haimann > OK
- Subject name:
- Reiter Subject
- Request Certificates > Enroll
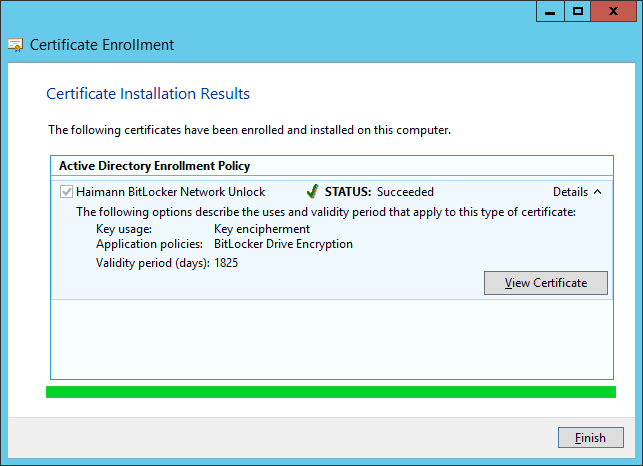
- Certificate Installation Results > Finish
- Before You Begin > Next
- Das Zertifikat BitLocker Network Unlock for Haimann rechts anklicken und im Kontextmenü All Tasks > Export anklicken

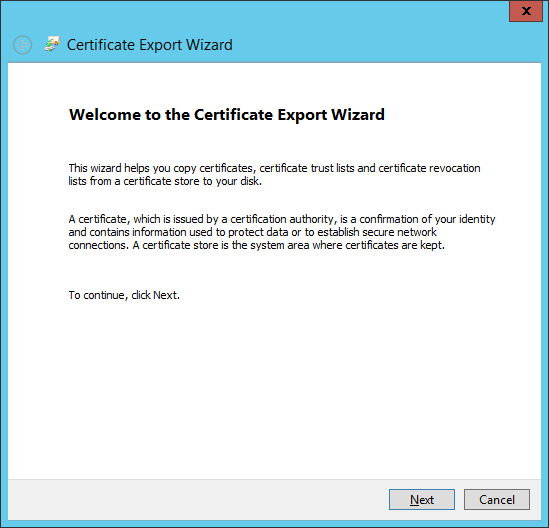
- Certificate Export Wizard
- Welcome … > Next
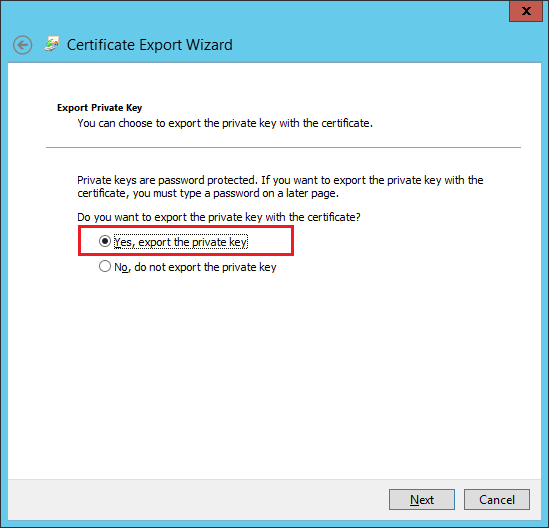
- Export the Private Key: Yes, export the private key > Next
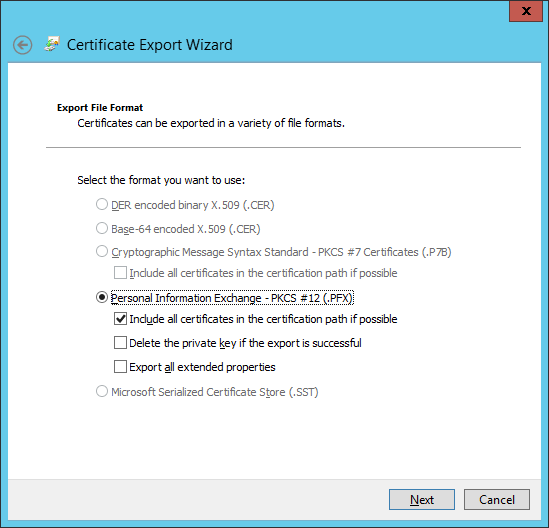
- Export File Format > Next
- Security
- Password: Password1 > Next
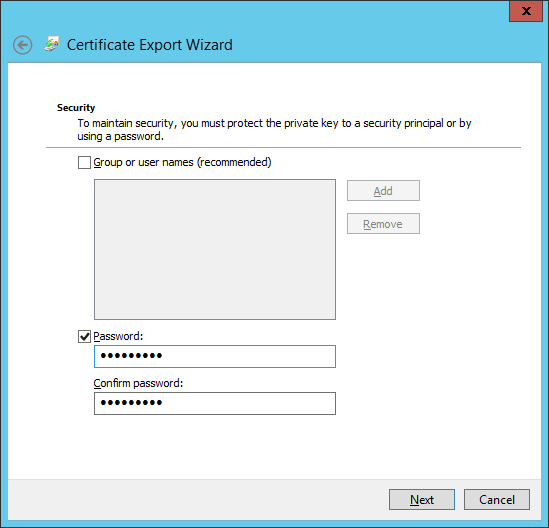
- Password: Password1 > Next
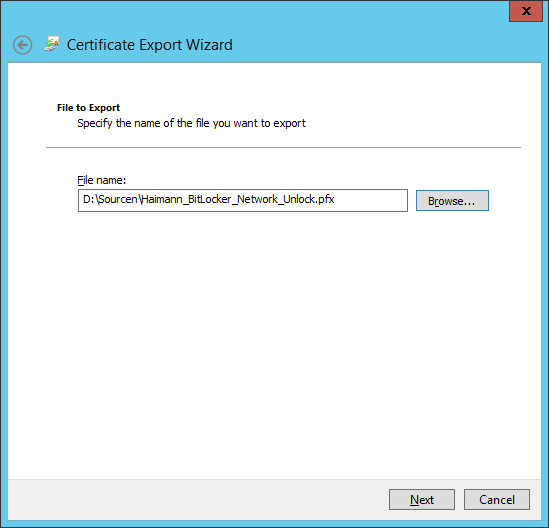
- File to Export: D:\Sourcen\Haimann_BitLocker_Network_Unlock.pfx > Next
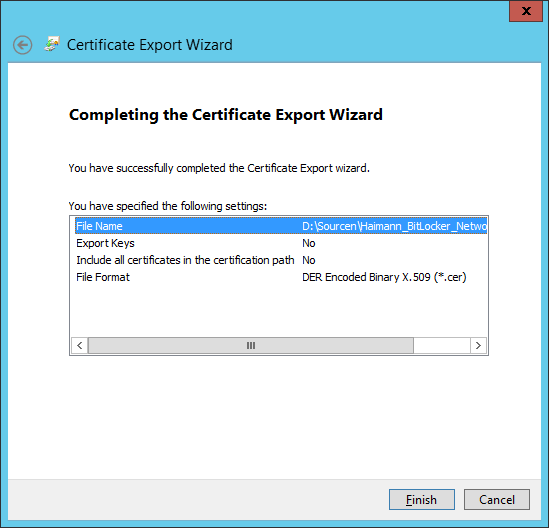
- Completing the Certificate Export Wizard > Finish

- Welcome … > Next
- Das Zertifikat BitLocker Network Unlock for Haimann ohne Private Key nach D:\Sourcen\Haimann_BitLocker_Network_Unlock.cer exportieren
- MMC schließen
Zertifikat mit Private Key (.pfx) am WDS-Server importieren
- Auf SERVER02 (am WDS-Server) eine MMC als Administrator starten
- Das Certificates-Snap-in für Computer account hinzufügen
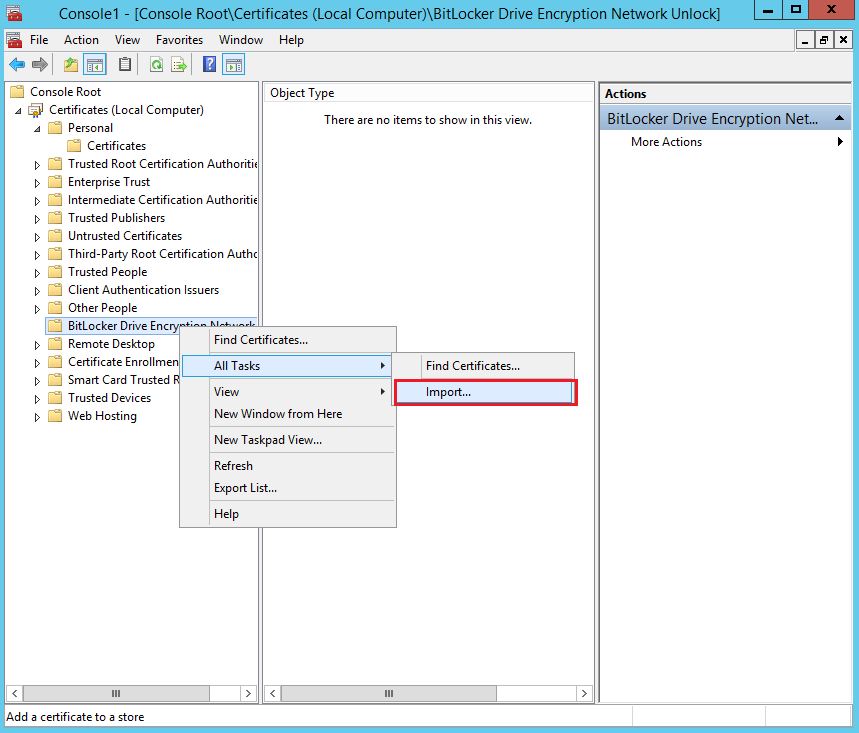
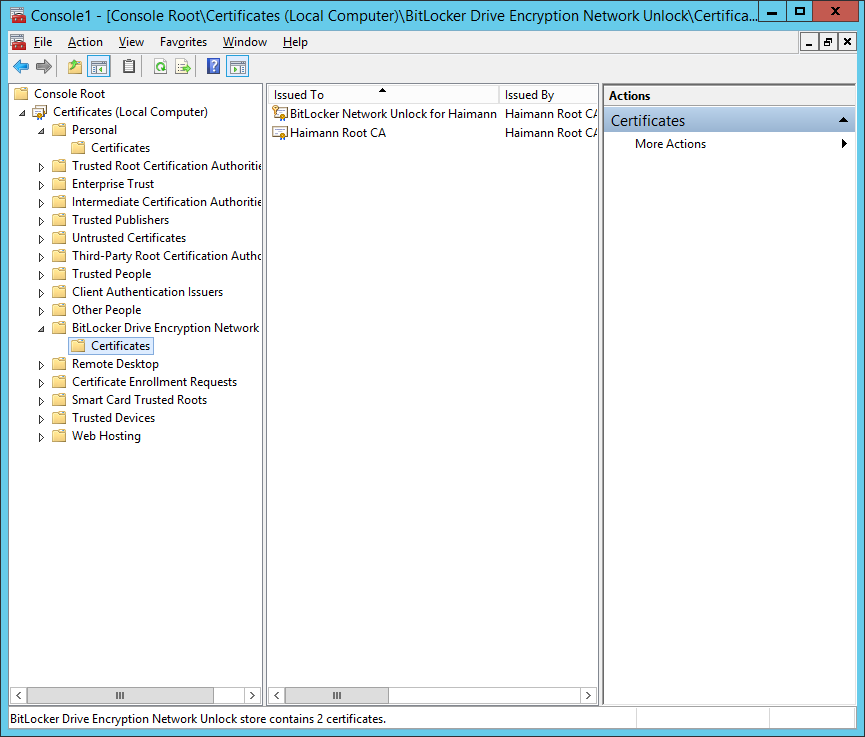
- Certificates (Local Computer) erweitern
- BitLocker Drive Encryption Network Unlock rechts anklicken und im Kontextmenü All Tasks > Import… anklicken
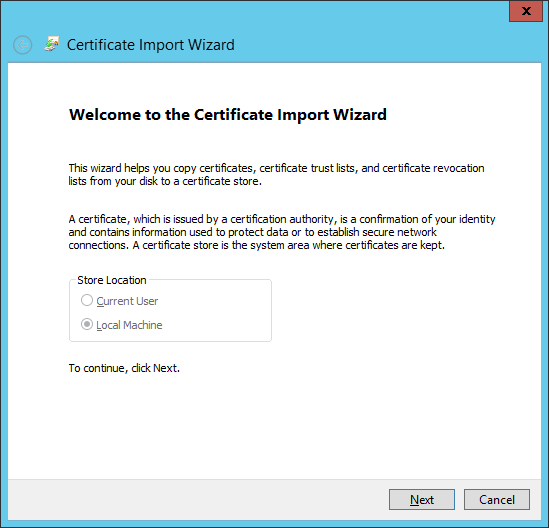
- Certificate Import Wizard
- Welcome… > Next
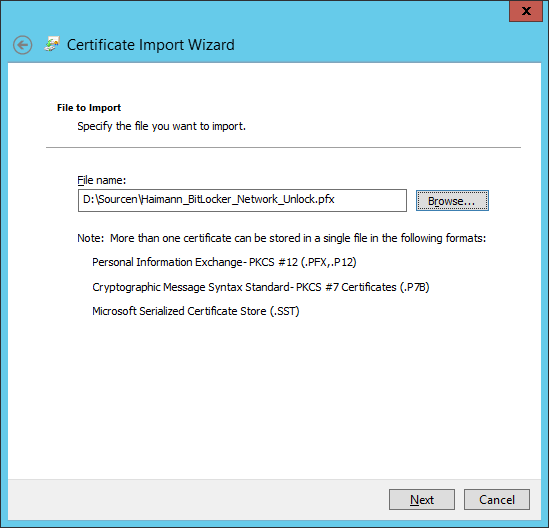
- File to Import: D:\Sourcen\Haimann_BitLocker_Network_Unlock.pfx > Next
- Private key protection:
- Password: Password1 > Next
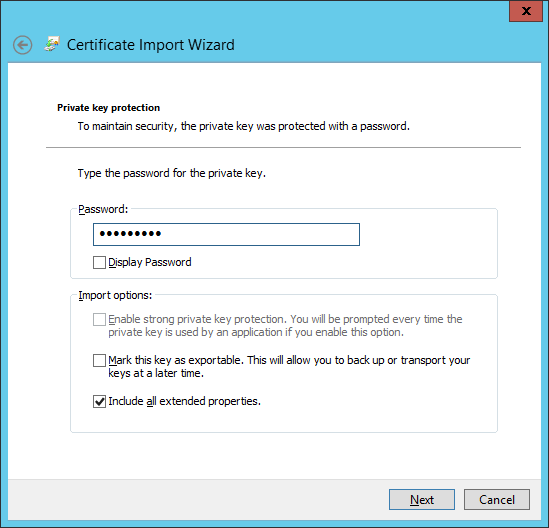
- Password: Password1 > Next
- Certificate Store > Next
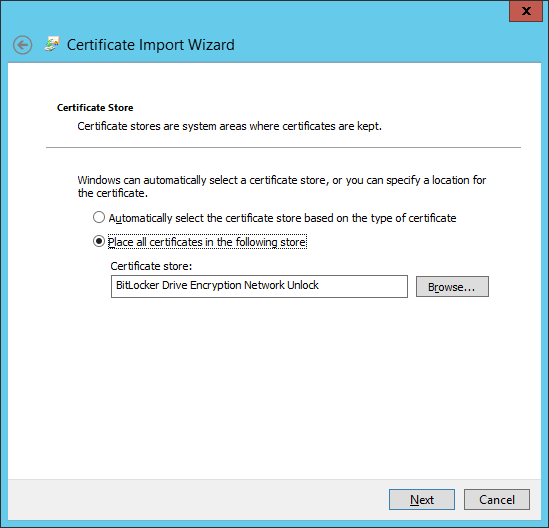
- Completing the Certificate Import Wizard > Finish

- Welcome… > Next
- Fenster schließen
Gruppenrichtlinien für Network Unlock konfigurieren
- Auf SERVER02 Server Manager > Local Server > Tools > Group Policy Management
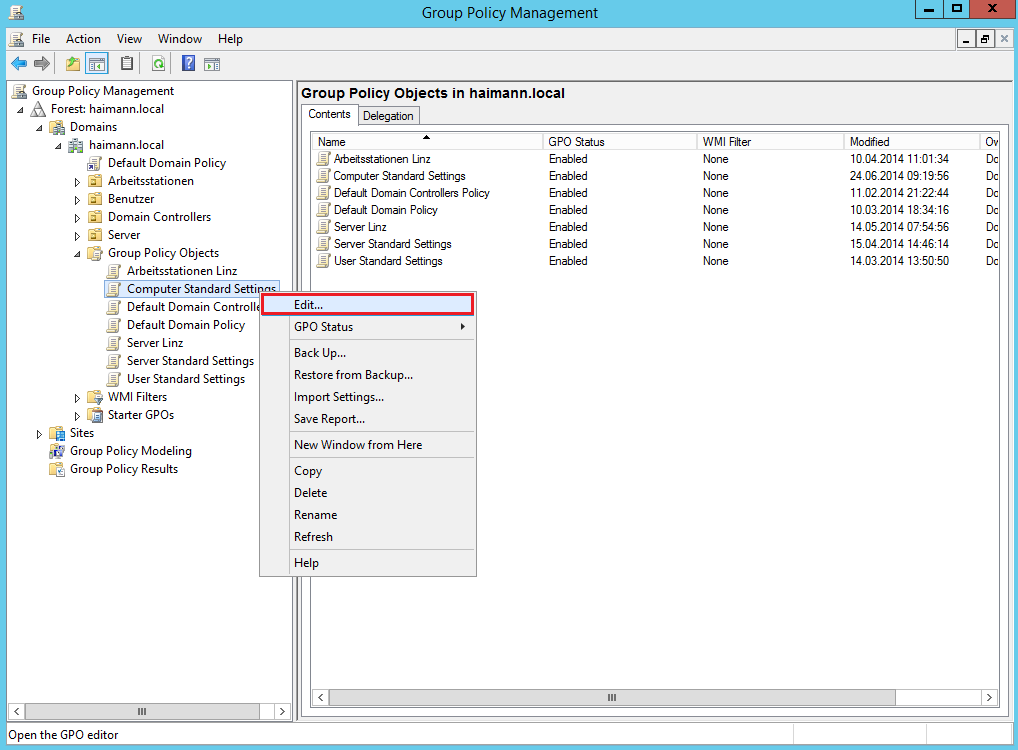
- haimann.local > Group Policy Objects erweitern
- Das GPO Computer Standard Settings rechts anklicken und im Kontextmenü Edit… anklicken
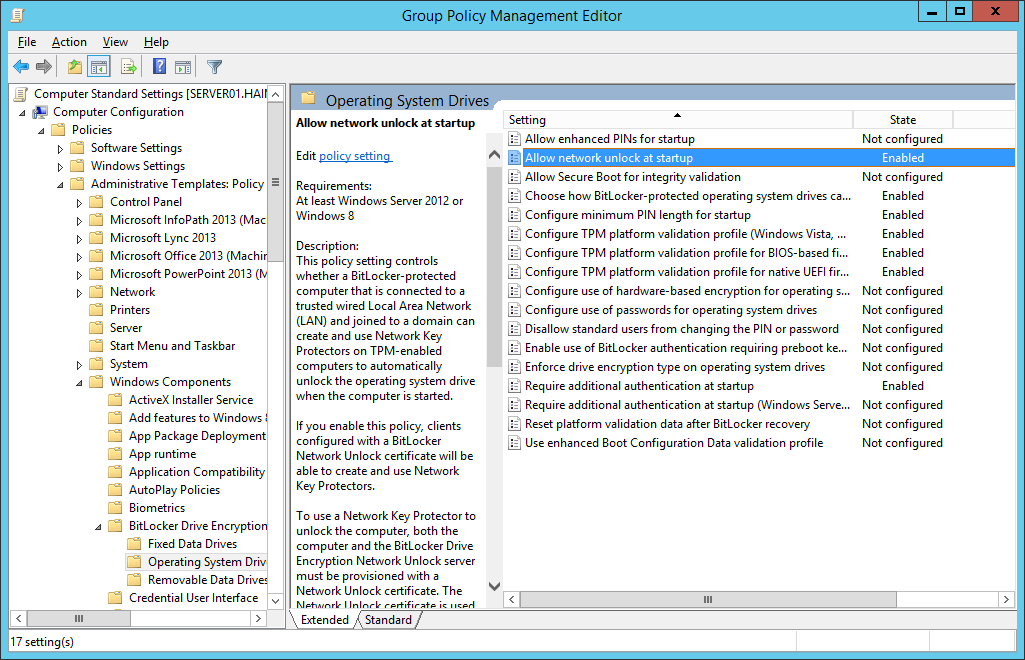
- Computer Configuration\Policies\Administrative Templates\Windows Components\BitLocker Drive Encryption\Operating System Drives erweitern
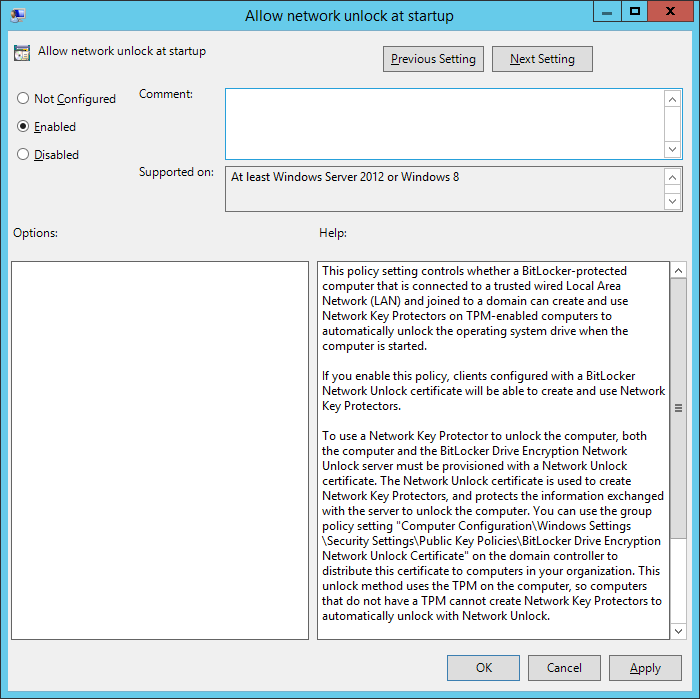
- Die Policy Allow network unlock at startup aktivieren
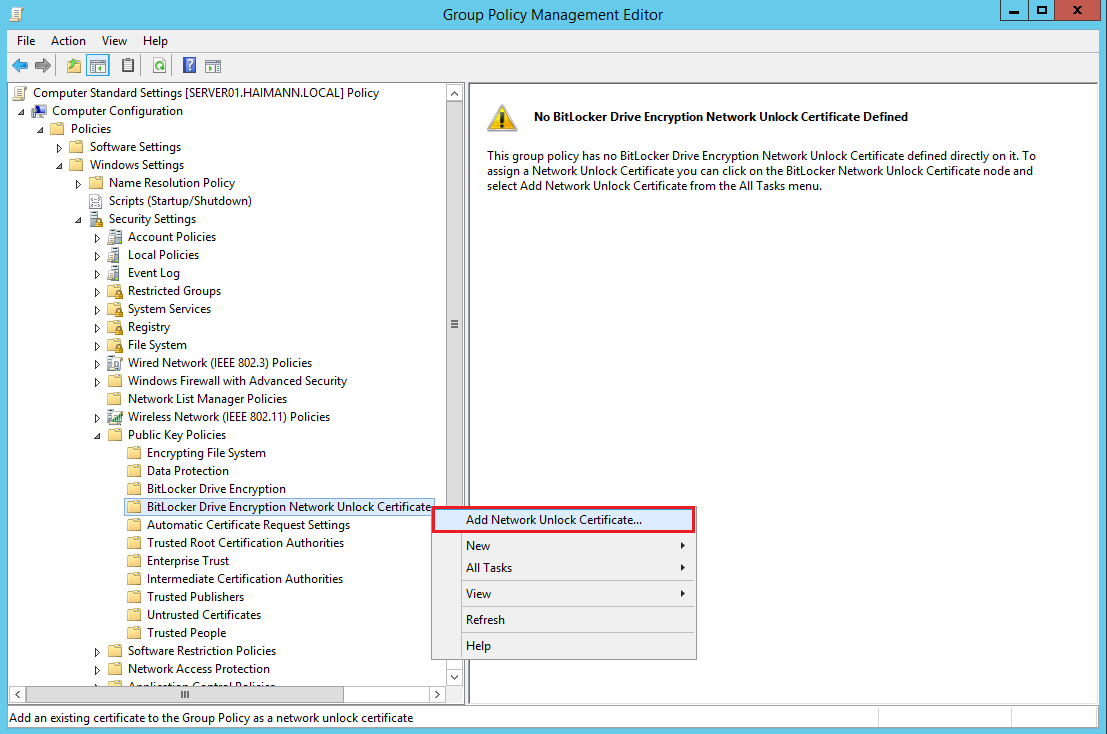
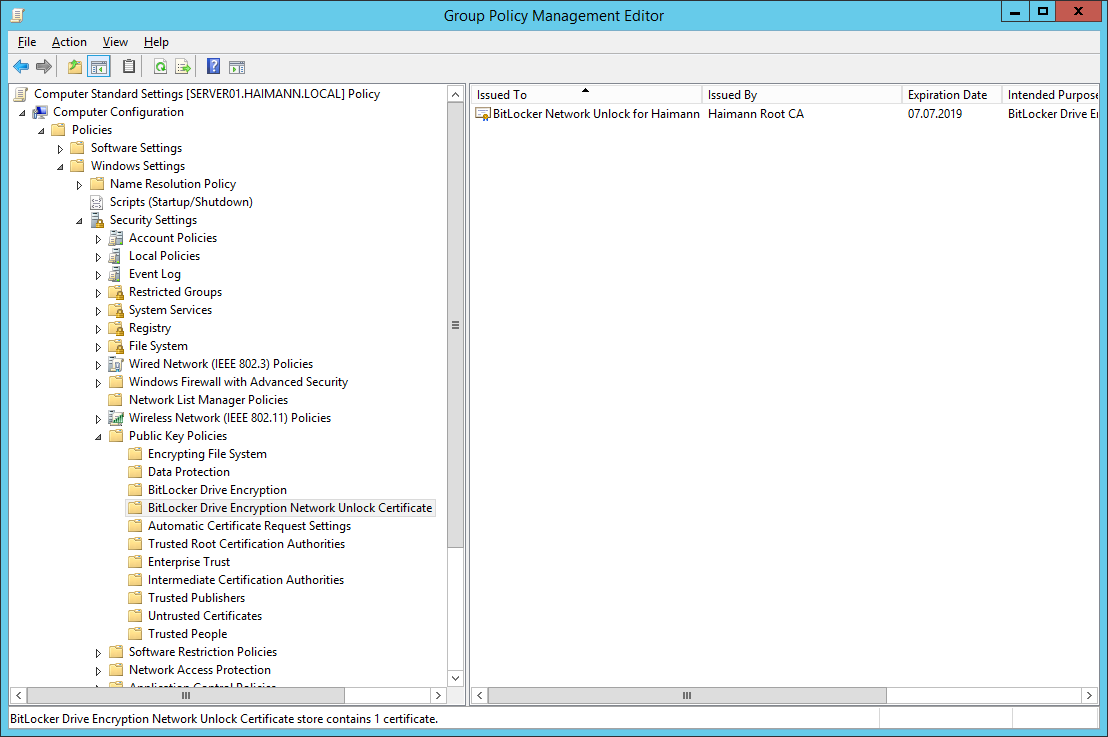
- Computer Configuration\Policies\Windows Settings\Security Settings\Public Key Policies erweitern
- BitLocker Drive Encryption Network Unlock Certificate rechts anklicken und im Kontextmenü Add Network Unlock Certificate anklicken
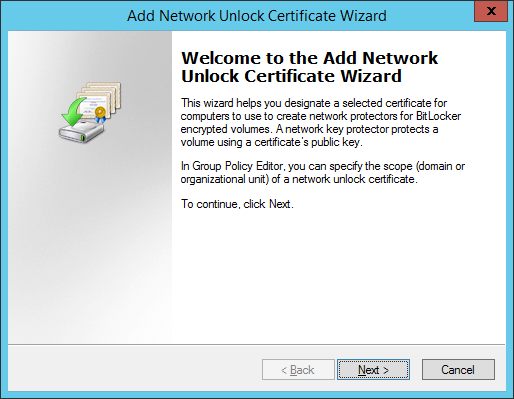
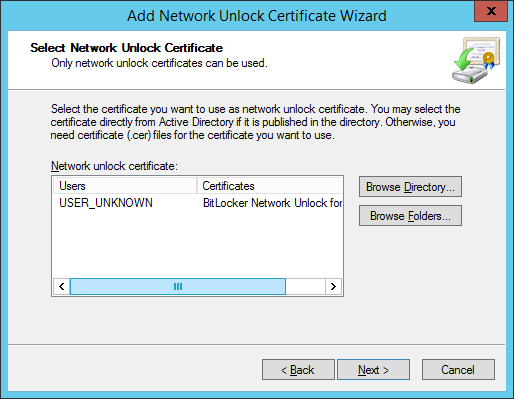
- Add New Unlock Certificate Wizard
- Welcome… > Next
- Select Network Unlock Certificate > Browse Folders…
- D:\Sourcen\Haimann_BitLocker_Network_Unlock.cer > OK > Next
- D:\Sourcen\Haimann_BitLocker_Network_Unlock.cer > OK > Next
- Completing… > Finish
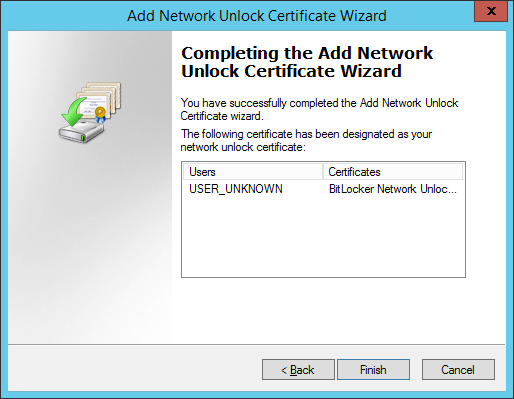
- Welcome… > Next
- Alle Fenster schließen
BitLocker Network Unlock mit CLIENT004 testen
- Als Markus an CLIENT004 anmelden
- Eingabeaufforderung (Administrator) starten
- Mit folgendem Befehl die Gruppenrichtlinien übernehmen
gpupdate /force
- Mit folgendem Befehl den Status der Verschlüsselung ermitteln
manage-bde -status
- Eine neue Schlüsselschutzvorrichtung ist hinzugefügt worden

- Fenster schließen
- CLIENT004 herunterfahren
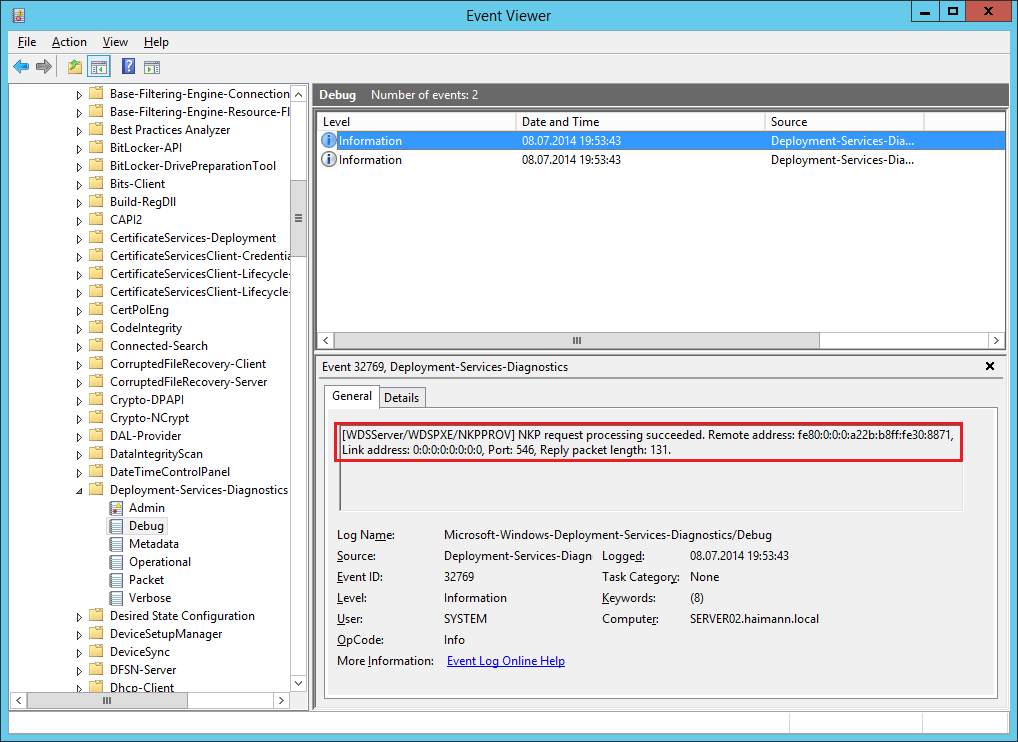
Windows Deployment Services Debug-Log aktivieren
Für die Fehlersuche kann man den Debug-Log im Event Viewer aktivieren. Zur Demonstration aktiviere ich den Log, weil man schön die Verbindung des Notebooks sehen kann.
- Auf SERVER02 Command Promt (Admin) starten
- Mit folgendem Befehl den Debug-Log für WDS aktivieren
wevtutil sl Microsoft-Windows-Deployment-Services-Diagnostics/Debug /e:true
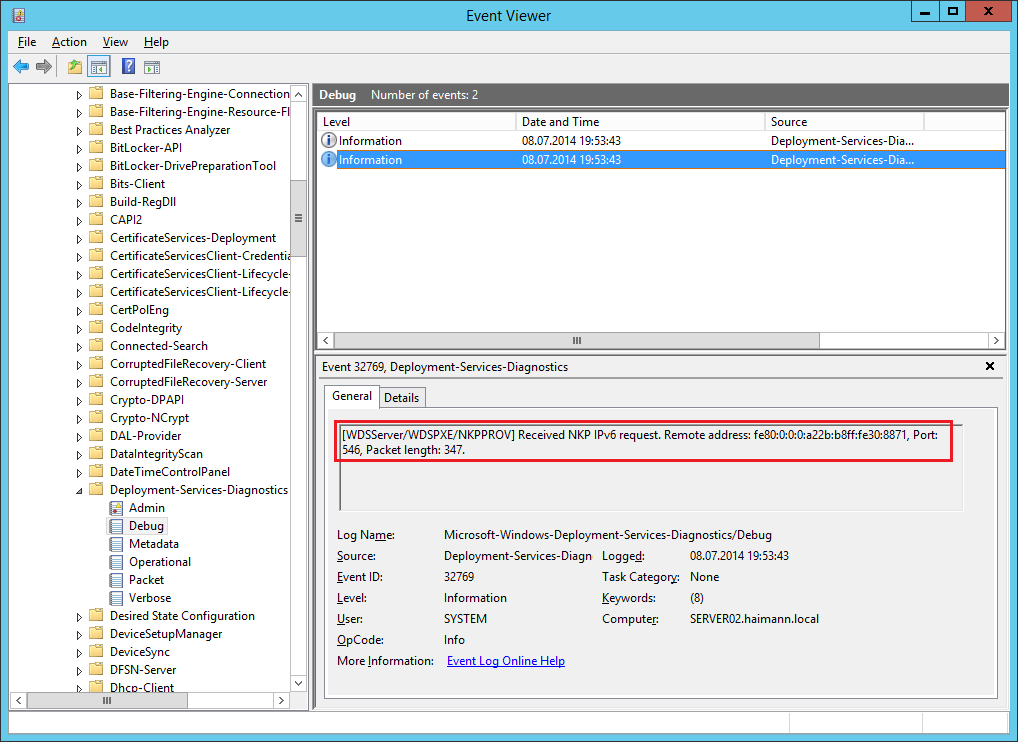
- Server Manager > Local Server > Tools > Event Viewer
- Application and Services\Microsoft\Windows\Deployment-Services-Diagnostics erweitern
- Debug anklicken
- CLIENT004 starten
- Es ist keine BitLocker-Eingabe notwendig
- Mit F5 die Ansicht im Event Viewer aktualisieren
- CLIENT004 vom Netz nehmen und neu starten
- BitLocker-Eingabe notwendig
Dankeschön! 🙂